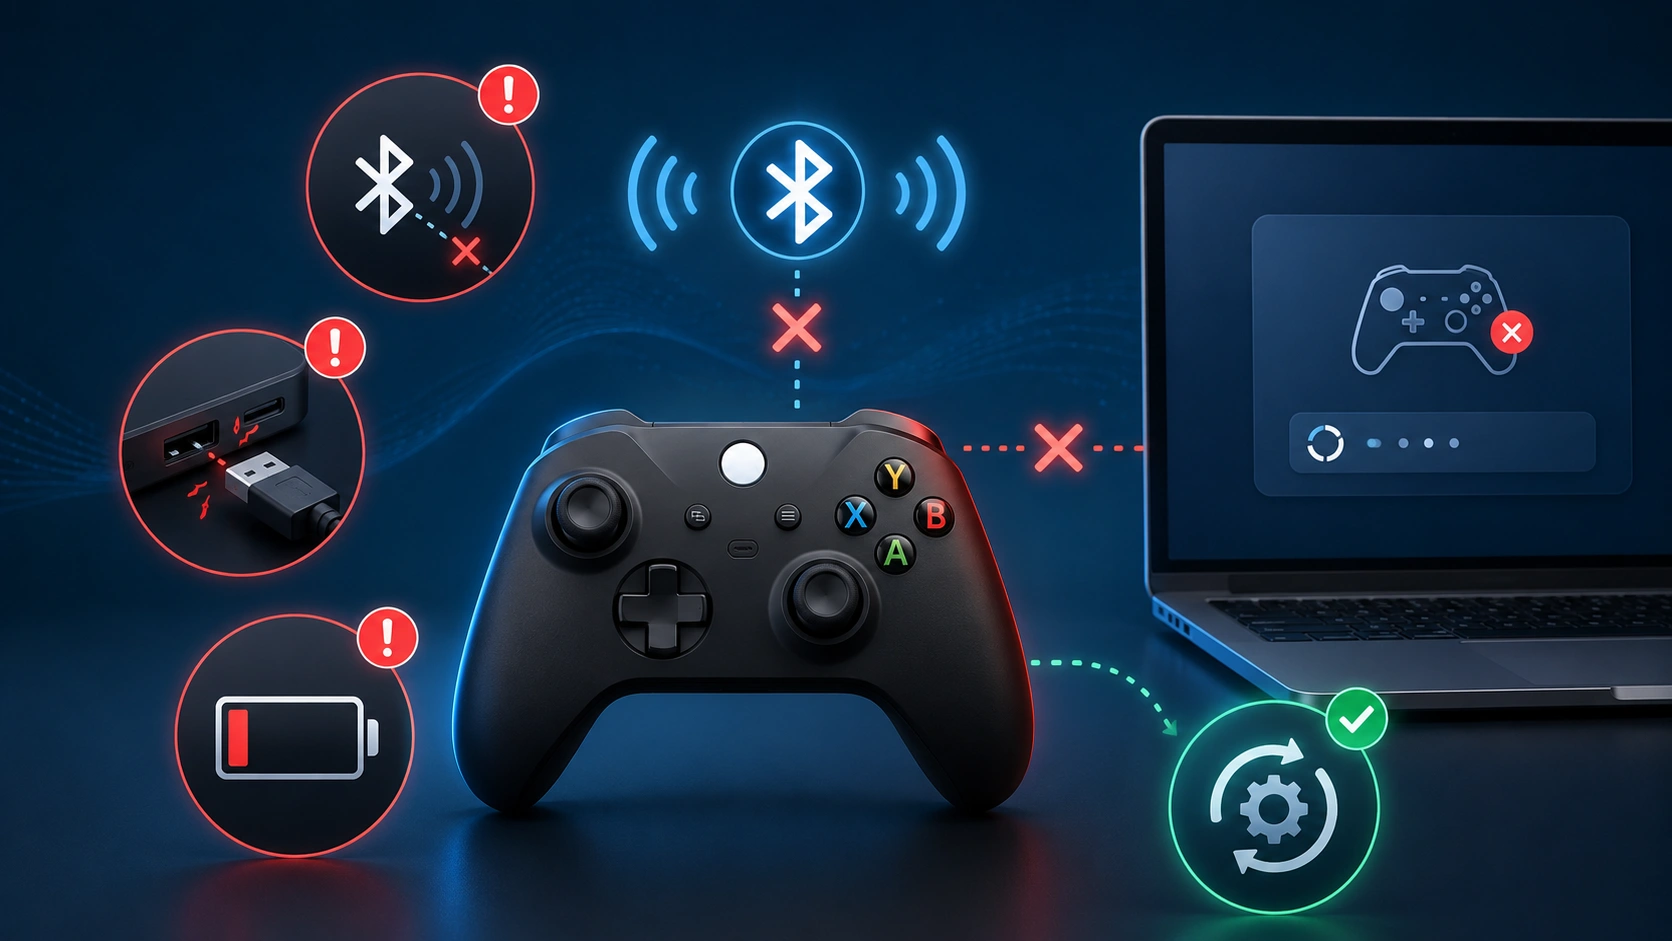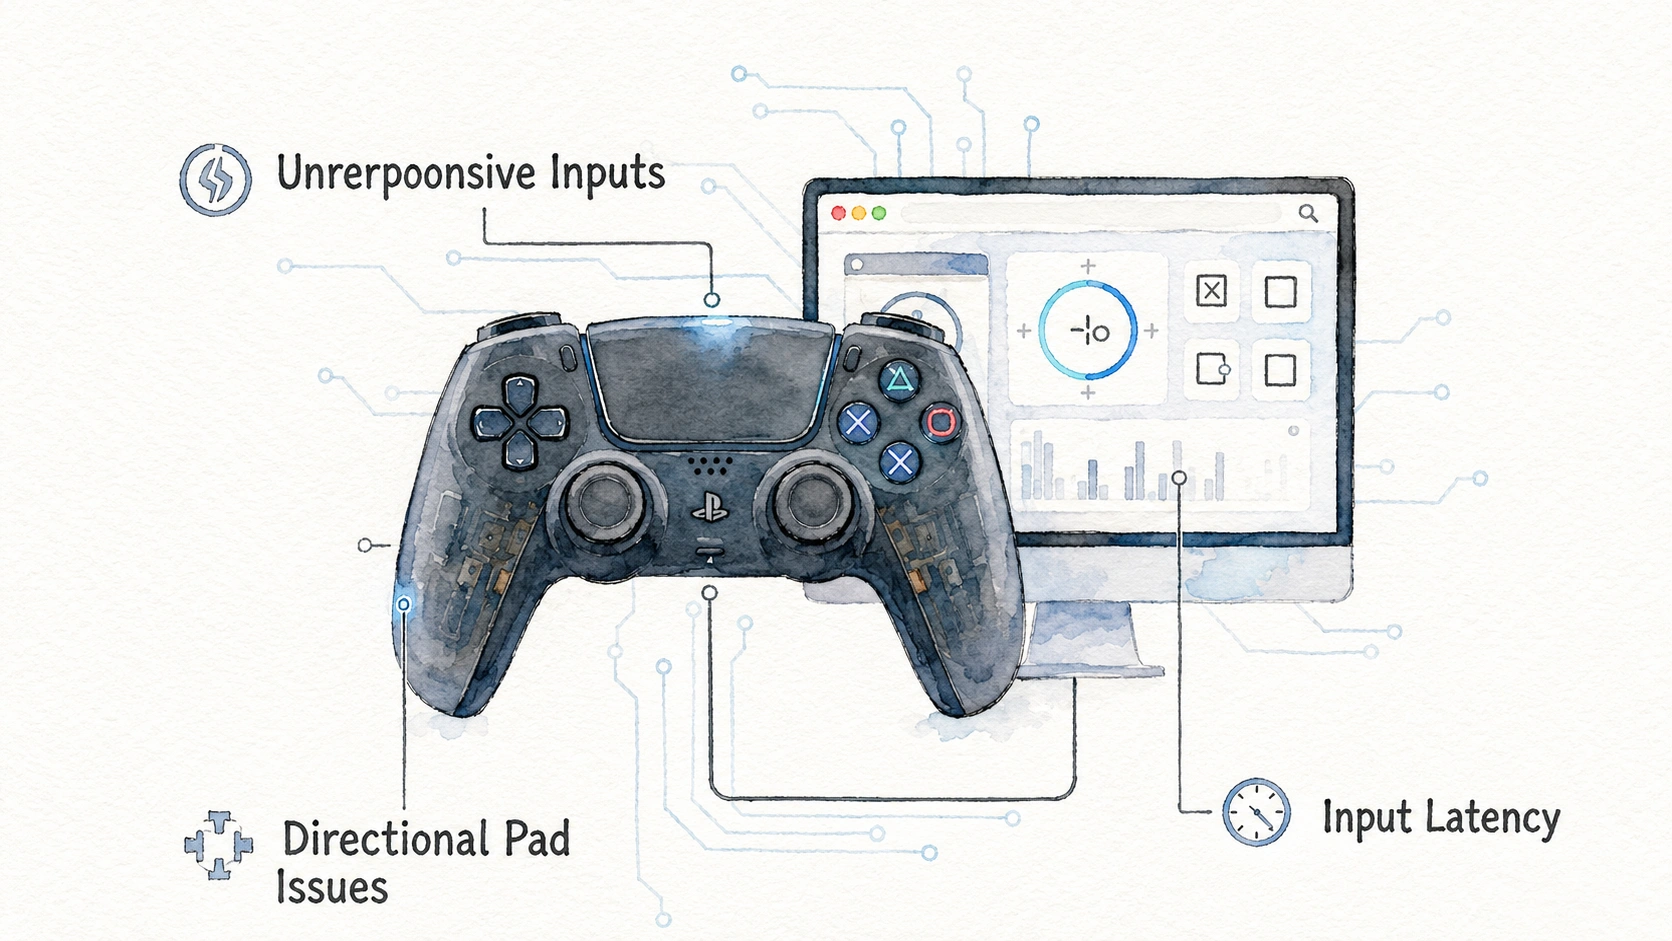
PS5 controller stick drift fix is one of the most annoying problems a gamer can face. You are sitting still, not touching anything, and your character keeps walking left. Or maybe your camera spins on its own during a boss fight. This happens to almost every PS5 owner sooner or later, and the good news is that most of the time you can fix it yourself without spending money on a new controller.
This guide walks through seven methods that actually work, based on real testing and common repair techniques used by console repair shops. No fluff, no guessing. Just plain steps anyone can follow, even if you have never opened a controller before.
What Is Stick Drift and Why Does It Happen
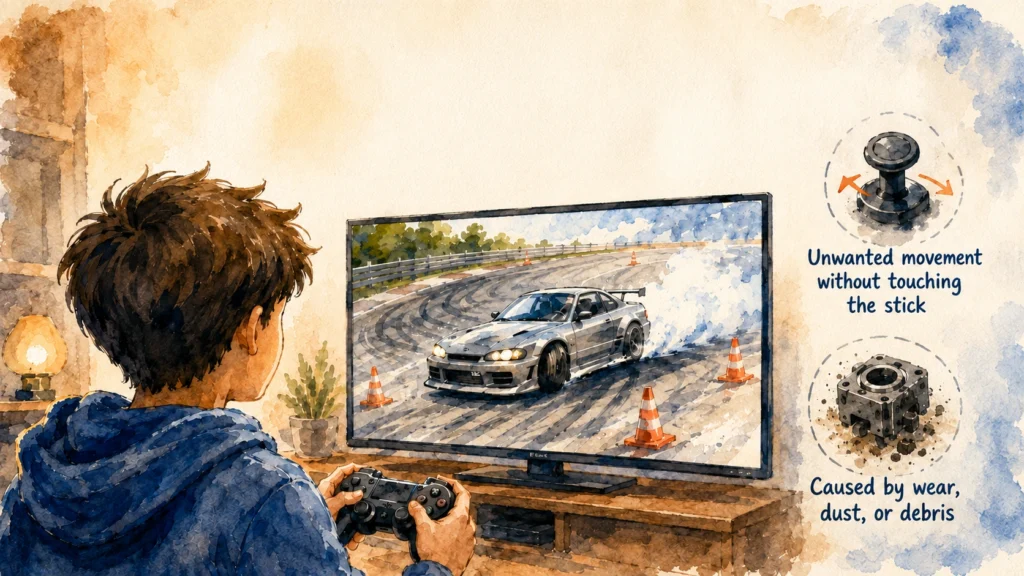
Stick drift happens when the analog stick sends movement signals to the console even though your thumb is not touching it or is resting still. The game reacts as if you pushed the stick in a direction, when in reality you did nothing.
The DualSense controller (the official PS5 controller) uses tiny sensors inside the stick module to read position. Over time, dust, sweat, oil from your fingers, and just plain wear and tear mess with the connection between the stick and the sensor. That mismatch is what causes drift.
Here is a simple table showing common causes:
| Cause | How It Happens |
|---|---|
| Dust and dirt | Small particles get under the stick cap and interfere with the sensor |
| Sweat and oil | Skin oils build up on the internal contacts over months of play |
| Physical wear | The potentiometer inside wears down after thousands of hours of use |
| Manufacturing defect | Some units simply had a weak stick module from the factory |
| Liquid spill | Even a small splash of soda or water can cause corrosion |
| Software bug | Rarely, a firmware issue makes the stick misread input |
Sony has faced lawsuits and public criticism over this exact issue, so if your controller drifts, you are definitely not alone. Repair technicians report that stick drift is one of the top three reasons people bring in PS5 controllers for service, right alongside battery problems and broken triggers.
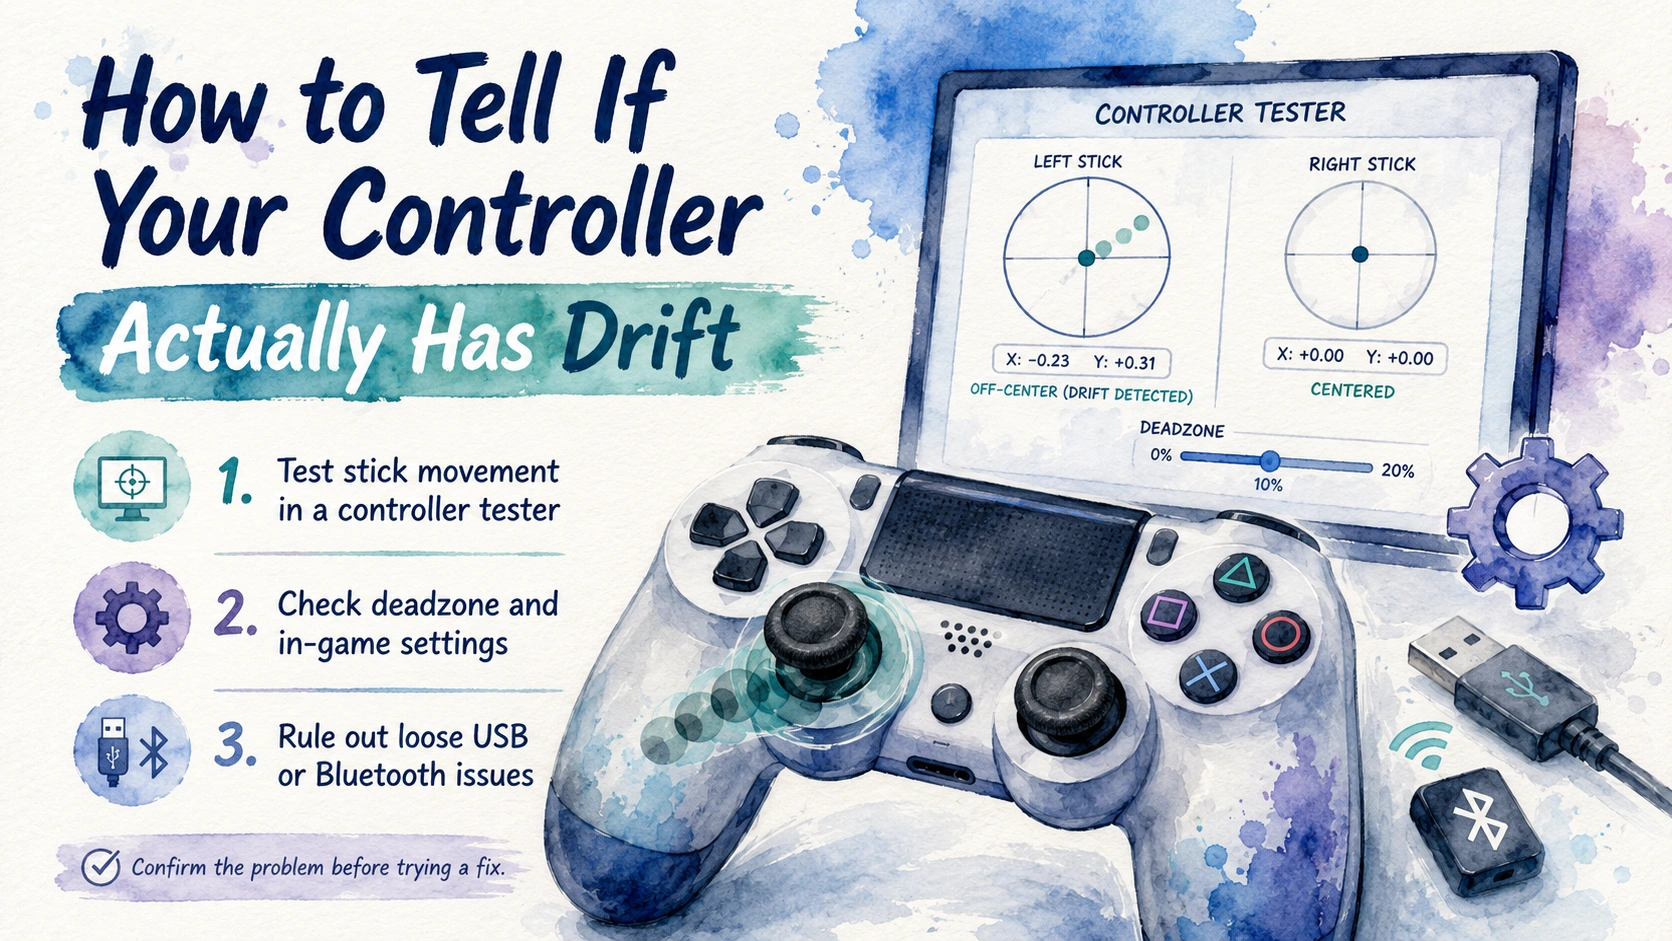
How to Tell If Your Controller Actually Has Drift
Before trying any fix, confirm the problem is real and not something else, like a game setting or a loose USB cable.
Sony has a built in test screen for this. Here is how to check it:
- Connect your controller to the PS5, either wired or wireless.
- Go to Settings, then Accessories, then Controllers.
- Select “Test Controller” or “Test Implement Vibration and Trigger.”
- Watch the on-screen sticks while you leave your controller sticks untouched.
If the on-screen indicator dot moves even slightly while your thumbs are off the sticks, you have drift. If it stays dead center, the problem might be somewhere else, maybe in the actual game you are playing.
You can also check this on PC using a free tool. Something like a gamepad tester website will show you live stick input in your browser. Just plug in the controller with a USB cable, open the site, and watch the axis readings while not touching the stick.
Browser controller tools access stick axes and button states through the Gamepad API.
Method One: Recalibrate the Stick Manually
The PS5 does not have a built in manual calibration tool like some older consoles, but there is a workaround using a browser based method or third party software when the controller is plugged into a PC.
Here is one option using Steam, which many people already have installed:
- Plug the controller into your PC with a USB cable.
- Open Steam, go to Settings, then Controller, then General Controller Settings.
- Make sure PlayStation Configuration Support is checked.
- A DualSense icon should appear at the bottom.
- Click it, then click Calibrate.
- Follow the on-screen prompts, moving the stick in full circles and then letting it rest.
This does not fix a physically worn part, but it does reset the center point and range, which solves drift caused by minor sensor misalignment.
Another option is using free software made specifically for testing and sometimes calibrating controllers on Windows. These tools show you a live graph of your stick’s position, so you can literally watch the drift happening in real time, which helps confirm the exact direction and severity of the problem.
You can also use the deadzone tester to check whether unwanted movement is occurring close to the stick’s centre point.
Method Two: Clean Around the Stick With Compressed Air
Dust buildup is the number one cause of minor drift, and compressed air is the easiest possible fix.
What You Need
| Item | Purpose |
|---|---|
| Can of compressed air | Blows dust out from under the stick cap |
| Small precision screwdriver | Optional, for angling the nozzle |
| Soft cloth | Wiping the outer casing |
Steps
- Hold the controller with the stick facing you.
- Insert the thin straw nozzle of the compressed air can right at the base of the stick, where the rubber meets the plastic body.
- Spray in short bursts, not one long blast, while rotating the stick in a full circle.
- Do this from a few different angles around the stick.
- Repeat for the other stick too, even if it seems fine right now.
Many gamers report their drift completely disappears with this trick alone. It costs almost nothing and takes five minutes. A repair technician I spoke with said compressed air fixes about 4 out of 10 drift cases that come through his shop, especially newer controllers that have not been opened yet.
Common mistake: people spray from far away or hold the can upside down, which pushes out liquid propellant instead of air. Always hold the can upright and keep the nozzle close but not touching the stick.
Method Three: Restart and Update Your Console First
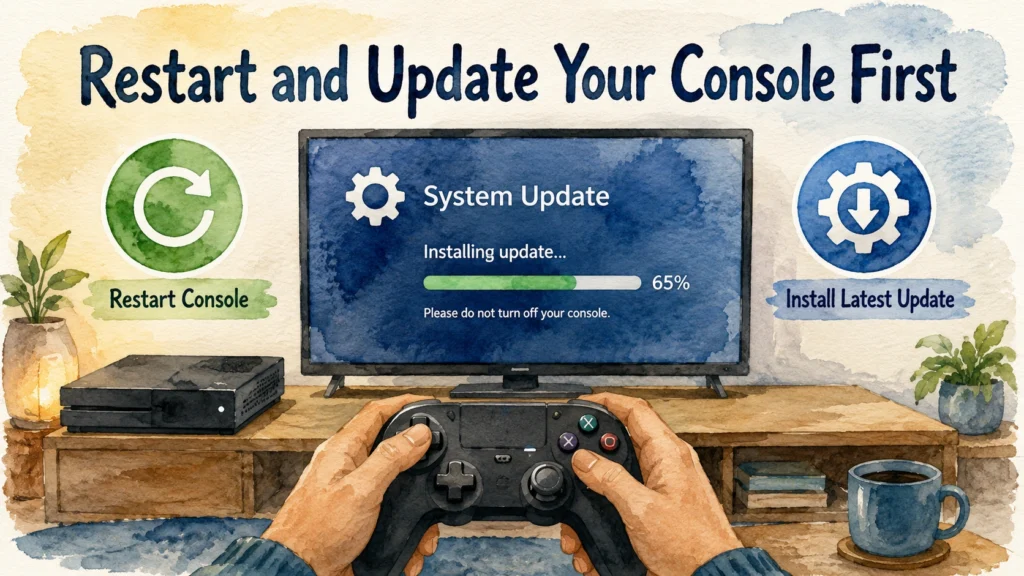
This sounds too simple, but skipping it wastes people’s time constantly. A software glitch can look exactly like hardware drift.
Steps to Try
- Turn off the PS5 completely, not just rest mode, actually power it down.
- Unplug it from the wall for about one minute.
- Plug it back in and turn it on.
- Go to Settings, then System, then System Software, and check for updates.
- Update both the console and the controller firmware if available.
Controller firmware updates happen automatically most of the time when connected by USB cable to the console. But it never hurts to check manually.
The official PlayStation controller support page also provides DualSense update, reset and repair options.
If drift disappears after this step, it was a software issue, not a hardware one. If it is still there, move to the next method.
Method Four: Clean the Contacts Inside the Controller
If compressed air does not fully solve it, going one level deeper usually does the trick. This means opening the controller slightly and cleaning the actual potentiometer contacts.
What You Need
| Item | Why |
|---|---|
| Isopropyl alcohol, 90% or higher | Cleans oxidation without leaving residue |
| Cotton swabs | Applying alcohol precisely |
| Small Phillips screwdriver | Opening the back shell |
| Plastic pry tool or old guitar pick | Prying the shell apart safely |
Steps
- Power off the controller and disconnect any cable.
- Remove the battery cover and battery if you are comfortable doing so.
- Unscrew the back panel screws, usually eight small Phillips screws.
- Gently pry the shell open, starting from the bottom near the USB port.
- Locate the stick module, it is the small assembly with the joystick attached.
- Dip a cotton swab lightly in alcohol, not soaking wet.
- Rub gently around the base of the stick module where the plastic housing meets the circuit board.
- Let it air dry for at least ten minutes before reassembling.
This method has a slightly higher difficulty level, but it is still something a careful beginner can do with a video tutorial open on their phone for reference. Just be patient and do not force any clips when opening the shell.
Common mistake: using too much alcohol. Excess liquid can seep into the analog module and cause new problems. A barely damp swab is all you need.
Method Five: Replace the Rubber Stick Cap or Cover
Sometimes the drift is not about the electronics at all, it is the rubber grip cap itself wearing down unevenly, which shifts pressure on the stick unevenly.
Signs This Might Be Your Issue
- The rubber cap looks shiny or worn smooth on one side
- You notice the cap wobbles slightly when you touch it
- Drift only happens in one specific direction
Fixing this is cheap. Replacement stick caps cost only a small amount and come in packs of four or more.
Steps to Replace
- Grip the worn rubber cap firmly with your fingers or tweezers.
- Pull straight up and off, it usually just sits on a post.
- Push the new cap onto the exposed post until it clicks or sits flush.
- Test movement before closing anything up.
This is one of the fastest fixes on this list and works surprisingly often for people who play for many hours daily, since their caps wear unevenly from repeated pressure in the same spots.
A model-specific DualSense joystick cover replacement guide can help you identify the clips and internal layout before opening the controller.
Method Six: Replace the Analog Stick Module
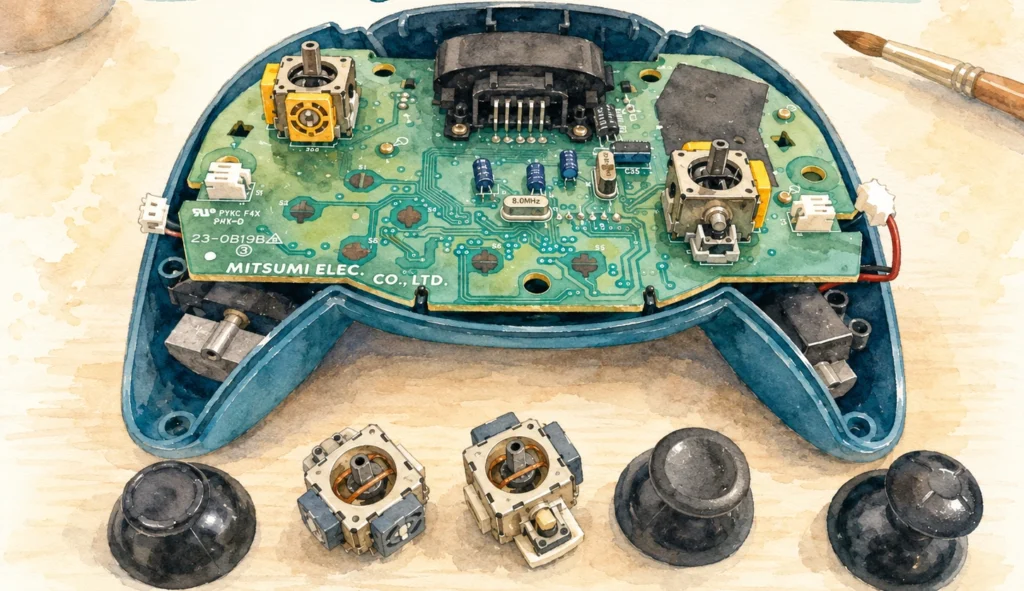
When cleaning does not help, the actual potentiometer module inside has likely worn out. This is the same part that fails inside Xbox and Nintendo Switch controllers too, it is a universal weak point in all modern gamepads.
This fix requires soldering, so it is a bigger job. Here is what is involved:
| Tool | Use |
|---|---|
| Soldering iron | Removing old module, attaching new one |
| Solder wick or pump | Cleaning old solder points |
| Replacement stick module | The actual new part |
| Multimeter | Testing continuity, optional but helpful |
General Steps
- Open the controller shell as described in Method Four.
- Remove the small ribbon cables connecting the touchpad and battery, noting their positions with a photo.
- Unscrew and lift out the main circuit board.
- Identify the drifting stick module, it will have several small metal legs soldered to the board.
- Desolder the old module carefully, one leg at a time.
- Clean the holes with solder wick.
- Insert the new module and solder each leg back in place.
- Reassemble in reverse order.
This is not beginner friendly. If you have never used a soldering iron before, this is the point where paying a local repair shop makes more sense than risking damage to your board. Many repair shops charge a modest flat fee for stick module replacement, which is often cheaper than buying a whole new controller.
If you do want to try it yourself, watch a video specifically for the DualSense model, since board layouts differ slightly between hardware revisions.
The detailed DualSense joystick replacement guide confirms that replacing the complete module requires intermediate soldering skills.
Method Seven: Contact Sony for Warranty Repair or Replacement
If your controller is still under warranty, which is typically one year from purchase in most regions, skip all the DIY steps and go straight to Sony support.
Here Is What to Expect
- Go to Sony’s official support website and start a repair request.
- You will need your controller’s serial number, found under the battery cover or on the box.
- Sony may offer a free repair, free replacement, or a discounted replacement unit depending on your warranty status.
- Turnaround time is usually a few weeks.
Due to past lawsuits over stick drift, Sony has in some regions extended free repair windows even slightly past the standard one year warranty for confirmed drift issues. It is always worth asking directly, even if you think your warranty expired recently.
If you bought an extended warranty through a retailer, check that too, since some cover drift specifically as a “defect” claim rather than accidental damage.
Quick Comparison Table of All Seven Methods
| Method | Difficulty | Cost | Success Rate |
|---|---|---|---|
| Restart and update | Very easy | Free | Low, only fixes software cases |
| Compressed air | Very easy | Low | Medium to high |
| Manual recalibration | Easy | Free | Medium |
| Alcohol contact cleaning | Medium | Low | High |
| Replace stick cap | Easy | Low | Medium |
| Replace stick module | Hard | Medium | Very high |
| Sony warranty repair | Very easy | Free or medium | Very high |
Tips to Prevent Stick Drift From Coming Back
Prevention matters just as much as the fix itself. A few habits make a real difference over time.
- Avoid slamming the stick to its edges during intense gameplay moments, ease into full range movements instead
- Keep food and drinks away from your gaming area, crumbs and spills are common causes
- Wash your hands before long gaming sessions to reduce oil buildup on the stick surface
- Store the controller in a dry place, humidity speeds up corrosion inside the module
- Give the controller a light compressed air clean every couple of months as regular maintenance
- Avoid extreme temperature environments, like leaving the controller in a hot car
Repair shop owners often mention that the customers who come back least often are the ones who do simple air cleaning regularly, rather than waiting until drift becomes severe.
Testing Your Fix Properly
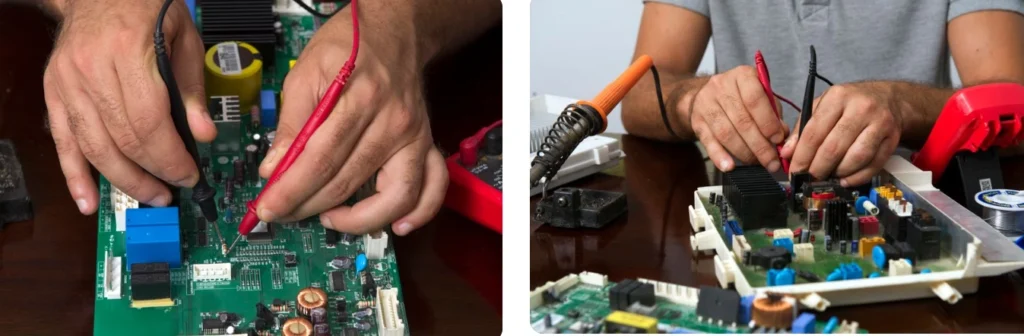
After trying any method above, always retest using a proper tool rather than just jumping into a game. A dedicated gamepad tester tool, either the PS5 built in test screen or an online gamepad tester website, shows you the raw stick position data, which is far more reliable than judging by feel during gameplay.
Steps for a Proper Retest
- Leave the stick completely untouched for at least thirty seconds while watching the tester screen.
- Move the stick in slow full circles, checking that it returns exactly to center every time.
- Push firmly to each of the eight directions, checking the tester shows a clean, sharp line to the edge without wobble.
- Repeat the whole test three separate times across a few hours, since some drift only appears once the controller warms up from use.
If the stick passes all these checks consistently, your fix worked. If it still shows small movements at rest, go back one method and try the next step up in the list.
Frequently Asked Questions
Does Stick Drift Get Worse Over Time If I Ignore It?
Yes, in most cases. What starts as small occasional drift usually becomes constant and more severe the longer you keep using the same worn parts without any cleaning or repair.
Can I Prevent Stick Drift Completely?
Not one hundred percent, since it is a mechanical wear issue built into how potentiometers work. But regular cleaning and gentle use can delay it by a long time, sometimes years.
Is Stick Drift Covered Under PS5 Warranty?
Usually yes, if it happens within the standard warranty window and is not caused by obvious physical damage like a drop or liquid spill you caused.
Do Third Party Controllers Have Less Stick Drift?
It depends on the brand and the type of sensor used. Some newer third party pads use Hall effect sticks instead of potentiometers, which are far more resistant to drift since they do not rely on physical contact wearing down.
How Long Does a DualSense Controller Usually Last Before Drift Starts?
This varies a lot based on usage, but many users report first signs of drift somewhere between eight months and two years of regular play.
Should I Buy a New Controller Instead of Fixing Mine?
If your controller is old, out of warranty, and you are not comfortable with any repair steps, a new one might genuinely save time. But if it is otherwise working fine, fixing the stick is much cheaper than replacing the whole unit.
Can Software Updates Alone Fix Stick Drift?
Rarely, but it does happen occasionally when the issue is a firmware misread rather than actual physical wear. It is always worth trying first since it costs nothing and takes only a minute.