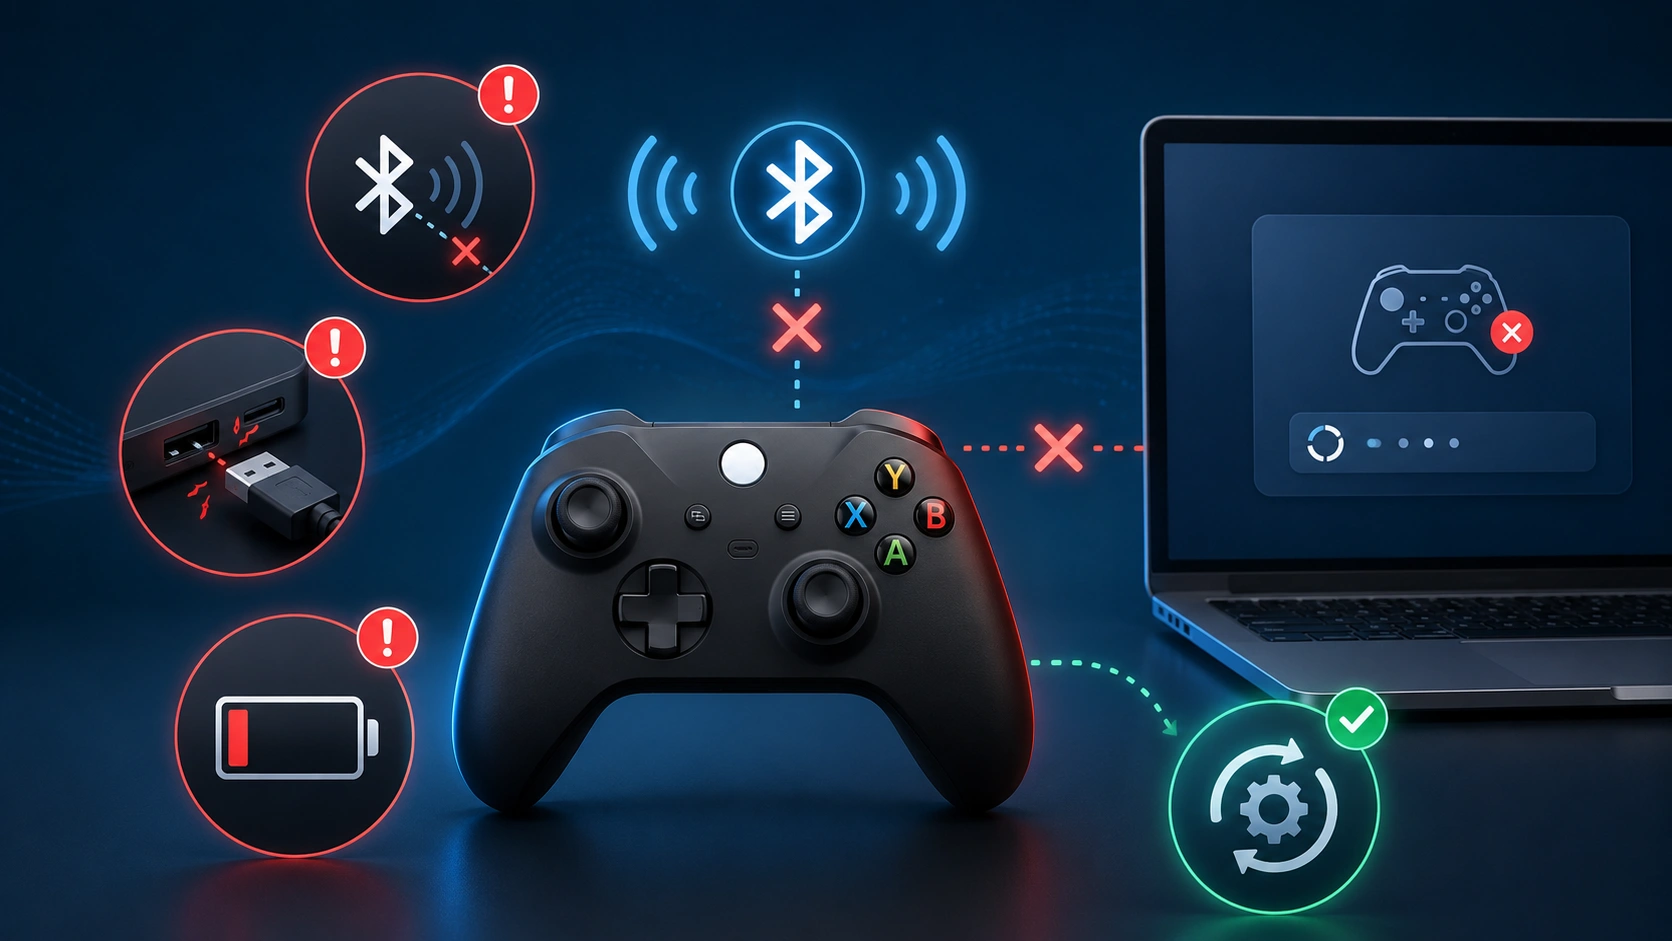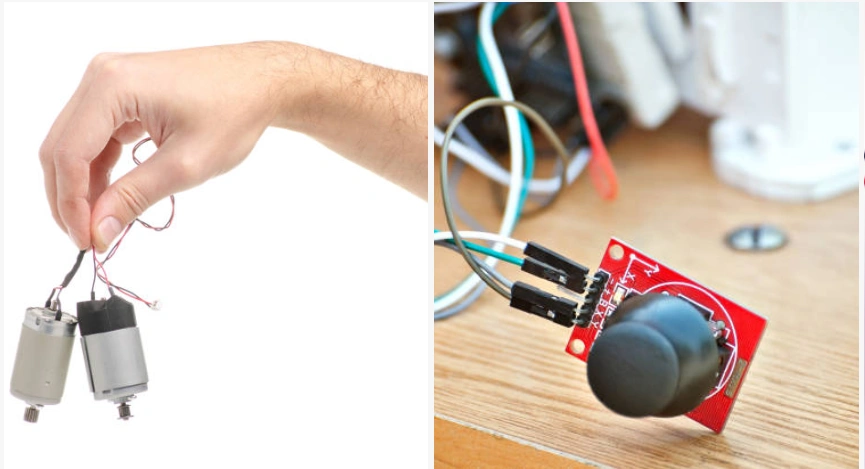
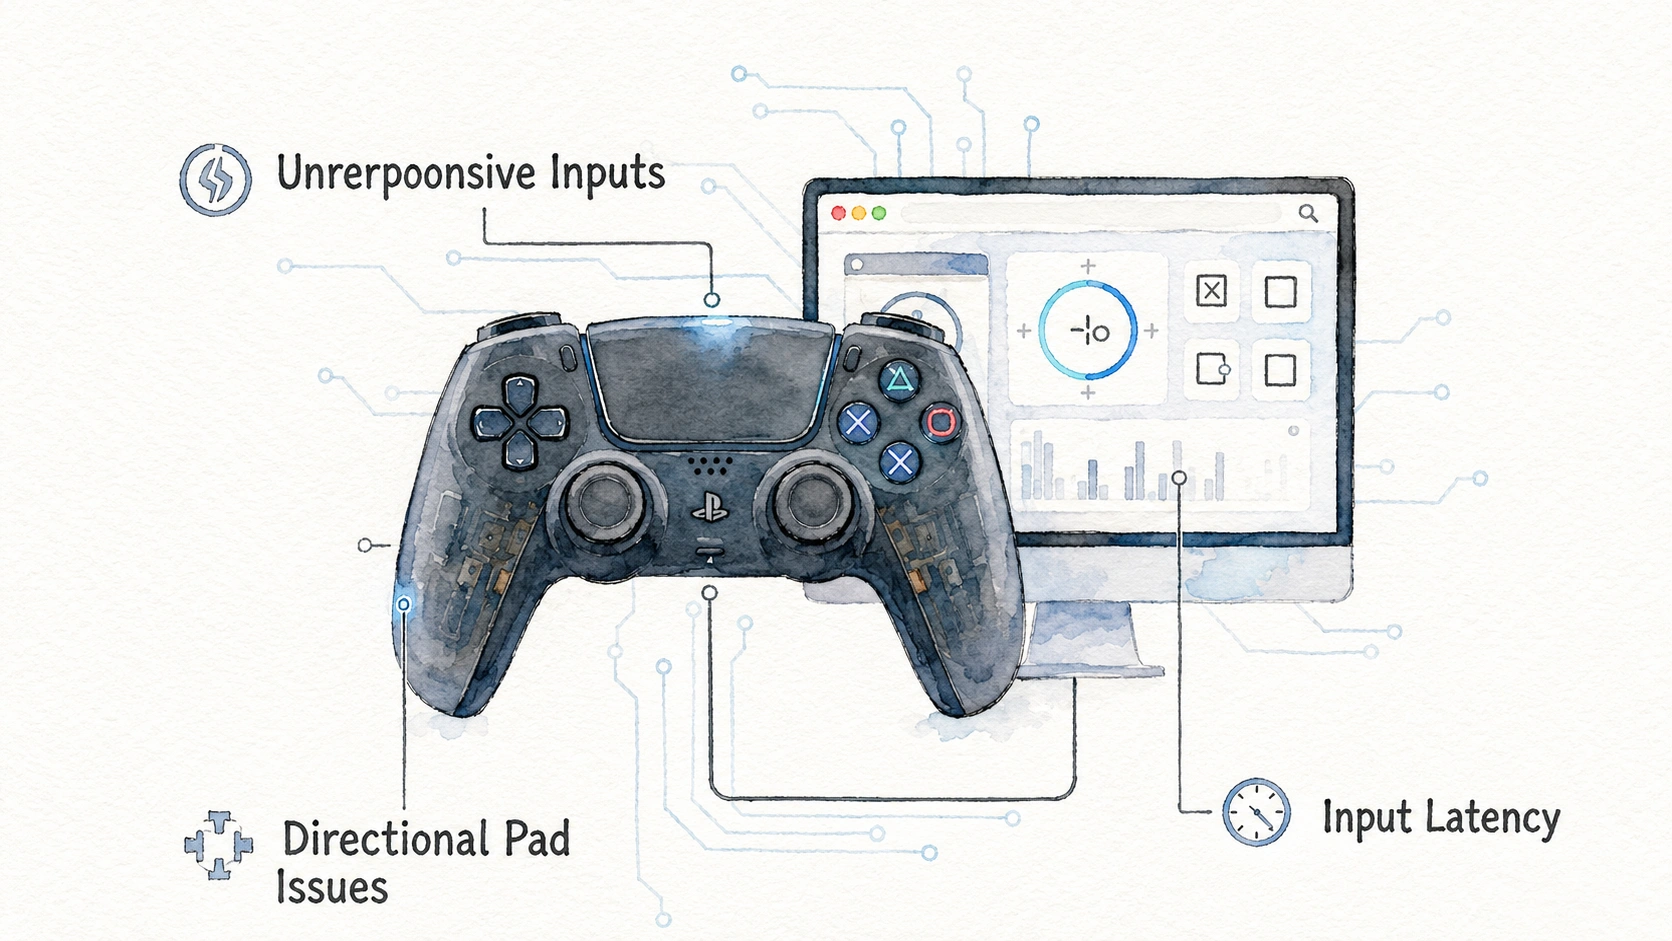
Your aim feels slightly off, or your character drifts a tiny bit even when you think your thumb is centered. Calibration fixes a surprising number of these small annoyances, and most people never realize the option even exists on PC. This guide walks through exactly how to calibrate any Controller on PC Using Windows and Steam, plus what calibration actually changes and when it genuinely helps versus when it will not fix your problem.
What Calibration Actually Does
Calibration is the process of telling your PC exactly what your controller’s resting position and full range of motion should be. It does not repair worn parts, but it does correct how the system interprets the signals coming from your stick and triggers.
Here is a simple way to think about it. Imagine a bathroom scale that shows five pounds even when nothing is on it. Calibration would be like resetting that scale back to zero, so future readings become accurate again.
| What Calibration Fixes | What Calibration Cannot Fix |
|---|---|
| A stick that reports a slightly off-center resting position | A physically worn out potentiometer |
| Sticks that do not reach true full range in certain directions | Dust or debris causing mechanical resistance |
| Trigger ranges that feel slightly inconsistent | Broken internal wiring or connectors |
| Minor input drift caused by software misreading | Severe drift caused by advanced hardware wear |
Calibration is genuinely worth trying first before assuming you need to open the controller or replace a part, since it costs nothing and takes only a couple of minutes.
Checking Your Controller on PC Using Windows Before Calibrating
Before adjusting anything, it helps to see exactly what your controller is currently reporting, so you have a clear before and after comparison.
Steps to Check First
- Open a browser based gamepad tester.
- Connect your controller and press any button if it does not appear immediately.
- Watch the stick position indicator while your thumb is completely off the stick.
- Note whether the dot sits exactly centered or slightly off to one side.
Browser-based controller testing tools generally read connected controller buttons and axis positions through the Gamepad API.
| What You See Before Calibration | What It Suggests |
|---|---|
| Dot sits exactly centered at rest | Calibration may not be necessary right now |
| Dot sits slightly off-center at rest | Calibration will likely help |
| Dot does not reach full range in one direction | Calibration may partially help, depending on the cause |
| Dot moves on its own even when untouched | This is drift, calibration may reduce it slightly but will not fully solve worn hardware |
Writing down or remembering this starting point makes it much easier to judge whether calibration actually improved anything once you finish the process.
Calibrating Through Windows Game Controllers Settings
Windows has a built in tool for this that many people never notice, since it is not placed somewhere obvious in the newer Settings app.
Steps to Access It
- Press the Windows key and type “Set up USB game controllers.”
- Open the result, which opens an older style Windows control panel window.
- Select your connected controller from the list.
- Click Properties.
- Go to the Settings tab within that properties window.
- Click Calibrate to begin the wizard.
The Calibration Wizard Will Then Walk You Through Several Steps
- Center the stick and press next when prompted.
- Move the stick to its full range in each direction as instructed.
- Press and release each button when prompted, if the wizard includes button calibration.
- Confirm and save the calibration once the wizard completes.
| Step in the Wizard | What You Actually Do |
|---|---|
| Center position | Leave the stick untouched in its natural resting position |
| Full range movement | Push the stick firmly to each edge in a slow circular motion |
| Trigger range, if included | Pull triggers fully then release completely |
| Save and confirm | Wizard applies the new calibration data |
This built in Windows tool is basic but genuinely effective for correcting minor centering issues, and it works with almost any controller recognized as a standard input device by Windows.
Calibrating Through Steam for PlayStation and Switch Controllers
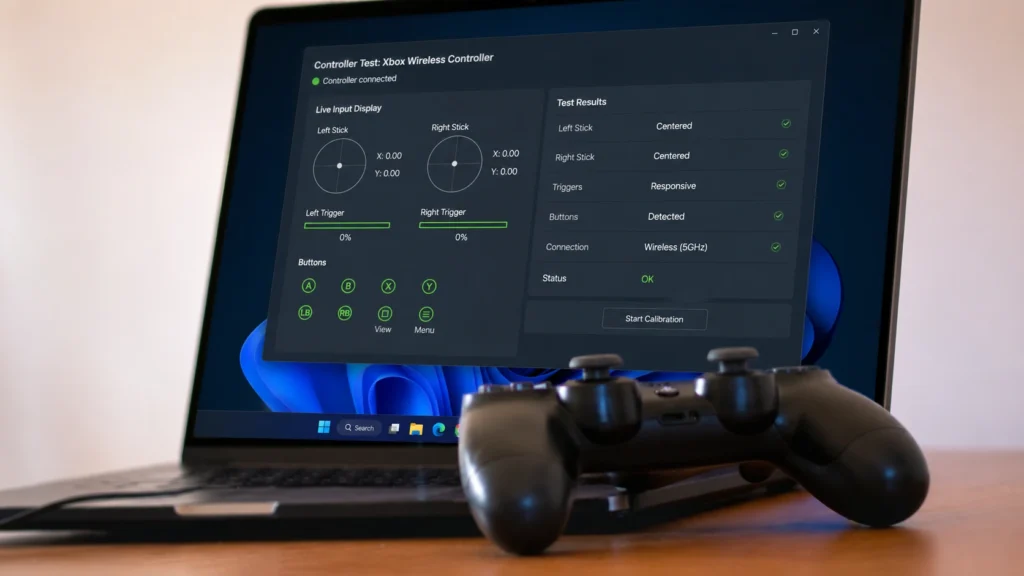
Steam offers a more detailed calibration and configuration system, especially useful for PlayStation and Nintendo controllers that do not have the same native Windows support that Xbox controllers enjoy.
PlayStation also provides official information about using supported PlayStation controllers on a Windows PC.
Steps to Calibrate Through Steam
- Open Steam and go to Settings.
- Select Controller, then General Controller Settings.
- Make sure the box matching your controller type is checked, such as PlayStation Configuration Support.
- Your controller should now appear listed at the bottom of that window.
- Click on your controller’s icon.
- Look for a Calibrate option within the controller’s detail screen.
Once Inside the Calibration Screen
- Follow on-screen prompts to move the stick in full circles.
- Release the stick back to center when instructed.
- Repeat for the second stick if the wizard covers both separately.
- Save the calibration once finished.
| Steam Calibration Feature | Benefit |
|---|---|
| Per-stick calibration | Corrects each stick independently rather than as a matched pair |
| Visual on-screen feedback | Shows exactly what the system is currently reading in real time |
| Saved per controller profile | Calibration applies specifically to that controller, useful if you own multiple |
| Works across most Steam games | Applies broadly rather than needing separate settings per game |
Steam’s calibration tool tends to feel more thorough than the basic Windows version, particularly for non-Xbox controllers, since Steam has built dedicated support specifically for PlayStation and Switch style input devices.
Setting Up Deadzones Properly After Calibration
Deadzone is the small area around the stick’s center where input gets ignored on purpose. Getting this right after calibration makes a noticeable difference in how responsive your controller feels.
Steps to Adjust Deadzone in Steam
- From the same controller configuration screen used for calibration, look for a deadzone slider.
- Start with a small deadzone setting and test movement in a game.
- Gradually increase only if you notice unwanted small movements at rest.
- Avoid setting it too high, since this makes small precise movements feel unresponsive.
| Deadzone Setting | Result |
|---|---|
| Too small | Minor drift or noise gets picked up as real input |
| Just right | Small unwanted movement ignored, full precision retained |
| Too large | Stick feels sluggish, subtle movements do not register |
A good approach is testing with a gamepad tester open in a second window while adjusting deadzone in Steam, so you can see the exact numeric effect of each change you make.
Calibrating Triggers Specifically
Triggers benefit from calibration just as much as sticks, though people often forget to check this separately.
Steps to Calibrate Triggers Where Supported
- Within the same Windows or Steam calibration wizard, look for a trigger specific section.
- Fully release the trigger when prompted for the resting position.
- Pull the trigger completely and hold when prompted for full range.
- Save the calibration once the wizard confirms both ends of the range.
| Trigger Calibration Step | What It Corrects |
|---|---|
| Resting position capture | Ensures zero pressure reads as true zero |
| Full pull capture | Ensures maximum pressure reads as true maximum |
| Range consistency check | Confirms smooth values in between rather than jumps |
If a trigger still feels jumpy or inconsistent after calibration, this usually points to actual physical wear rather than a software calibration issue, which means cleaning or repairing the trigger mechanism itself becomes the next step.
Common Mistakes People Make During Calibration
A number of small errors lead to calibration results that do not actually fix anything.
- Rushing through the full range movement step, not actually reaching the true edge in each direction
- Letting go of the stick too quickly during the centering step, capturing a slightly off-center resting position by accident
- Forgetting to test the results afterward, so a bad calibration goes unnoticed until gameplay feels wrong again
- Calibrating a controller that has genuine hardware wear and expecting a full fix, when only a repair will solve that
- Skipping trigger calibration entirely, even though it can meaningfully improve trigger consistency
- Calibrating through Windows only, when Steam might offer better support for that specific controller type
Testing Your Controller After Calibration
Once calibration is complete, always retest using a gamepad tester to confirm the changes actually took effect and improved things.
Steps for a Proper Post Calibration Test
- Open a browser based gamepad tester.
- Leave the stick untouched and confirm the dot now sits exactly centered.
- Move the stick in slow full circles, checking for a smooth complete circle reaching true edges.
- Pull triggers slowly from released to full, checking for smooth value increase without jumps.
- Compare this result to what you noted before calibration to confirm real improvement.
| Before Calibration | After Calibration, If Successful |
|---|---|
| Dot slightly off-center at rest | Dot now sits exactly centered |
| Range does not reach full edge | Range now reaches true edge cleanly |
| Trigger values jump inconsistently | Trigger values increase smoothly |
If nothing changed at all after calibration, the underlying cause is likely physical wear rather than a software misread, meaning cleaning, repair, or replacement becomes the more relevant next step.
When Calibration Will Not Fix Your Problem
It matters to know the limits of what calibration can actually do, so you do not waste time repeating it expecting different results.
Signs Calibration Alone Will Not Solve Your Issue
- The stick drifts noticeably even immediately after a fresh calibration
- Buttons feel physically stuck or do not move freely
- You hear grinding or clicking sounds during stick movement
- The problem returns within minutes of recalibrating, rather than staying fixed
| Situation | Better Next Step |
|---|---|
| Drift returns quickly after calibration | Clean the stick with compressed air, then consider deeper cleaning |
| Trigger feels physically stuck | Check for debris or a broken return spring |
| Buttons do not register consistently | Test with a gamepad tester to isolate which specific button is affected |
| Problem affects both sticks equally and immediately | Check general power settings or firmware rather than assuming hardware wear on both sticks simultaneously |
Calibration is a genuinely useful first step, but treating it as a universal fix for every controller problem leads to frustration when the real cause is something calibration was never designed to address.
Nintendo Switch owners can also review Nintendo’s official instructions for calibrating controller sticks.
Comparing Windows and Steam Calibration Tools
| Feature | Windows Built In Tool | Steam Controller Settings |
|---|---|---|
| Ease of finding the tool | Somewhat hidden in older control panel style menu | Easier to find within Steam settings menu |
| Controller type support | Best for Xbox and generic controllers | Strong support for PlayStation, Switch, and Xbox alike |
| Deadzone adjustment included | No, requires separate configuration | Yes, built directly into the same screen |
| Visual feedback during calibration | Basic | More detailed and visual |
| Works outside of Steam games | Yes, system wide | Mostly within Steam, though some system wide options exist |
For most people using a PlayStation or Switch controller on PC, Steam is genuinely the better starting point, while Xbox controller owners may find the basic Windows tool sufficient on its own.
A Quick Checklist Before You Start Calibrating
Getting a few small things right before you even open the calibration wizard makes the whole process smoother.
- Make sure your controller has a full or near full battery charge if it is wireless
- Close unnecessary background programs that might interfere with input detection
- Test with a gamepad tester first so you have a clear before picture
- Decide whether Windows or Steam calibration fits your specific controller type better
- Set aside a few uninterrupted minutes, since rushing through the wizard leads to inaccurate results
Frequently Asked Questions
Do I Need to Recalibrate Every Time I Use My Controller?
Ans: No, calibration settings are saved and should remain applied until you manually recalibrate again or reset your settings, so this is not something you need to repeat regularly.
Does Calibration Work the Same Way for Wireless and Wired Controllers?
Ans: Yes, the calibration process itself works the same regardless of connection type, though a stable connection during the process helps avoid interrupted or inaccurate readings.
Can Calibration Fix Stick Drift Completely?
Ans: It can reduce very minor drift caused by a slightly misread center point, but it cannot fix drift caused by actual physical wear inside the stick mechanism.
Why Does My Controller Show Different Calibration Results in Windows Compared to Steam?
Ans: These two systems sometimes read raw input slightly differently and store their own separate calibration data, so results are not always identical between the two.
Is Calibrating Through Steam Necessary If I Only Play Non-Steam Games?
Ans: Steam’s controller configuration can still apply system wide in some cases, but for full compatibility with non-Steam games, checking Windows calibration alongside Steam settings is often worthwhile.
Can I Calibrate Multiple Controllers Separately If I Own More Than One?
Ans: Yes, both Windows and Steam generally allow you to calibrate and store separate settings for each individual controller you connect, so switching between them keeps their own specific calibration data intact.
Will Calibration Improve My Aim in Competitive Games?
Ans: It can help if your previous stick readings were slightly off-center or inconsistent, since accurate raw input naturally supports more precise aiming, though it will not compensate for skill or in-game sensitivity settings on its own.