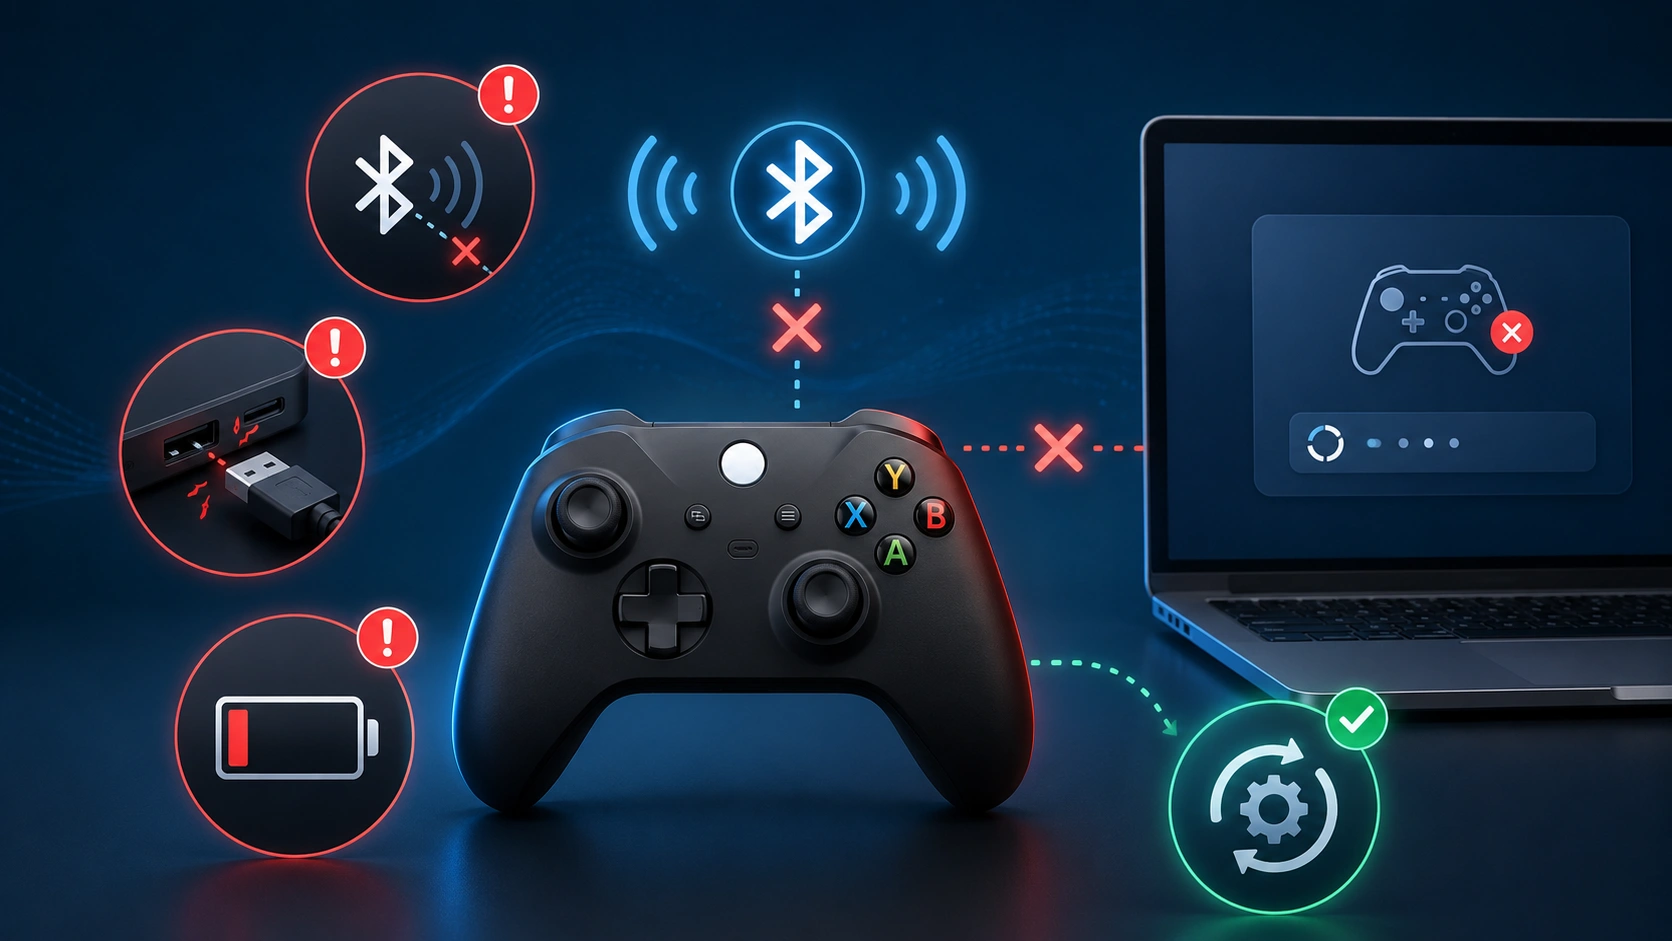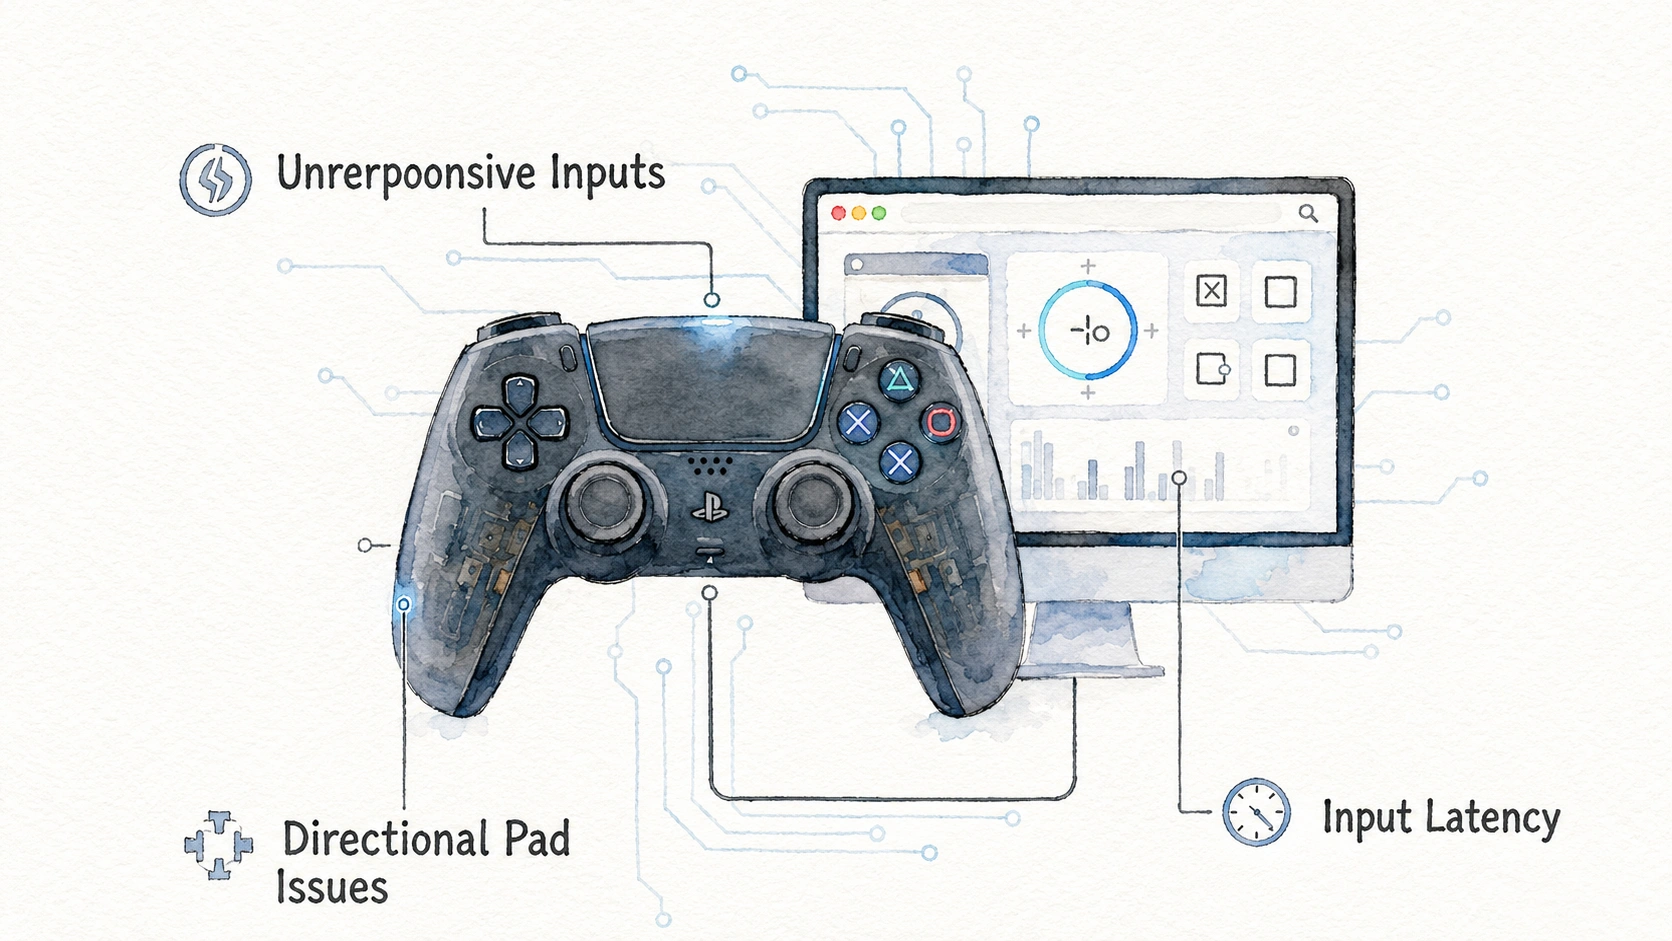
You feel a weird buzz during a game, or maybe you feel nothing at all when an explosion should be shaking the controller in your hands. Controller Vibration problems are easy to miss at first, since they build up slowly, but they are also one of the simpler things to test and diagnose properly. This guide covers exactly how to test your controller’s rumble motors using free online tools, plus what different results actually tell you about what is going on inside.
What Vibration Motors Actually Do Inside a Controller
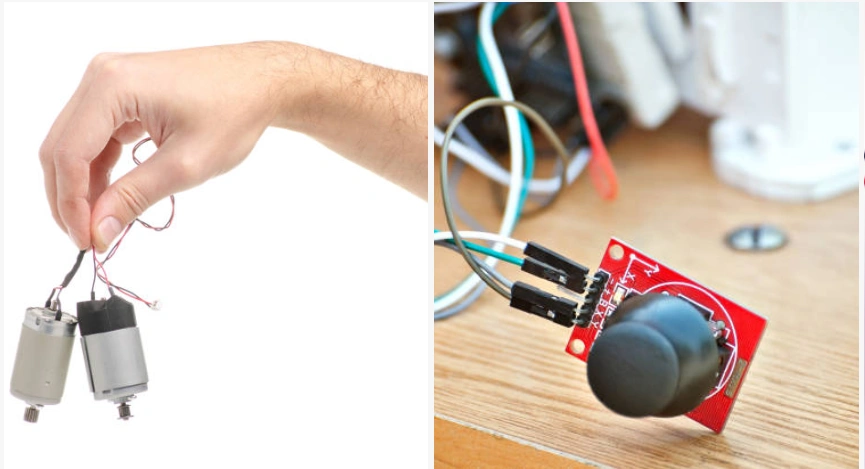
Most modern controllers use two separate small motors to create the rumble effect you feel during gameplay. These are not the same, and understanding the difference actually helps you diagnose problems more accurately.
Here is the simple breakdown:
| Motor Type | What It Does |
|---|---|
| Low frequency motor | Creates a stronger, heavier rumble, often felt more in explosions or impacts |
| High frequency motor | Creates a lighter, buzzier feeling, often used for smaller details like gunfire or engine hums |
Both motors work using a small spinning weight that is slightly off center. When the motor spins, that uneven weight creates the shaking sensation you feel through the controller shell.
Some newer controllers, particularly the PS5 DualSense, use a more advanced system with additional actuators that create more detailed feedback, sometimes marketed under names like adaptive triggers or advanced haptic feedback, though the basic spinning weight principle still applies underneath the more detailed effects.
Why Testing Vibration Separately From Gameplay Matters
Just playing a game and waiting to feel a big explosion is not a reliable way to test vibration, since games apply their own settings and effects on top of the raw motor hardware.
Reasons a Dedicated Test Gives Clearer Answers
- Games often use vibration for very specific short moments, which makes it hard to judge overall motor health
- Some games let players adjust vibration intensity, which can mask a genuinely weak or failing motor
- A dedicated test isolates each motor individually, showing you exactly which one might be having a problem
- Raw testing avoids any confusion caused by game specific effects layered on top of basic motor function
A repair technician who handles controller repairs regularly mentioned that customers frequently report “my controller doesn’t vibrate anymore” when in reality only one of the two motors has actually failed, and the remaining working motor was masking the problem during normal gameplay.
How to Test Vibration Using a Browser Based Tool
Many gamepad tester websites include vibration testing as part of their overall feature set, using the same browser based Gamepad API that reads button and stick input.
Steps to Test Properly
- Connect your controller to your PC, either wired or through Bluetooth pairing.
- Open a gamepad tester website that specifically mentions vibration or rumble testing.
- Press any button first if the controller does not show up immediately, since browsers often need an initial input signal to detect the device.
- Look for a vibration test button or option on the page, sometimes separated into individual motor tests.
- Trigger the test and pay close attention to what you actually feel in your hands.
| What the Tool Might Offer | What You Learn From It |
|---|---|
| Single combined vibration test | Basic confirmation that vibration works at all |
| Separate low and high frequency tests | Which specific motor might be weak or failing |
| Adjustable intensity test | Whether the motor responds properly across different strength levels |
| Timed test with clear start and stop | Whether vibration stops cleanly or continues too long |
Not every browser has equally strong support for vibration testing through the Gamepad API, so if one browser shows no reaction at all, trying a different modern browser like Chrome or Edge is worth attempting before assuming a hardware fault.
What Healthy Vibration Should Actually Feel Like
Knowing what normal feels like makes it much easier to notice when something is actually wrong.
Signs of Healthy Vibration Motors
- A clear, immediate reaction the instant the test starts, with no noticeable delay
- A steady, even buzz or rumble throughout the test duration, not fading in and out randomly
- A clean, complete stop the moment the test ends, without any lingering vibration
- A noticeable difference in feel between the low frequency and high frequency motor tests, since they are genuinely different in character
| Test Result | What It Suggests |
|---|---|
| Immediate strong response | Motor is healthy |
| Delayed response by a noticeable fraction of a second | Possible early wear or connection issue |
| Weak or barely noticeable vibration | Motor may be failing or connection is loose |
| No response at all from one specific motor | That motor has likely failed completely |
| Grinding or rattling sound during vibration | Mechanical wear inside the motor itself |
That last one, a grinding or rattling sound, is something people often notice before they consciously register the vibration feeling weaker, since the sound often changes before the strength does.
Testing Each Motor Individually
If your tester tool allows separate testing of the low and high frequency motors, always test them one at a time rather than only using a combined test.
Steps for Individual Testing
- Trigger the low frequency motor test alone and note the strength and consistency of what you feel.
- Wait a moment, then trigger the high frequency motor test alone and compare.
- Repeat each test two or three times to confirm consistency rather than judging from a single trial.
- Note any difference in feel between your left and right side motors if your controller has a motor on each side, like some premium controllers do.
| Motor Position | What to Compare |
|---|---|
| Left motor versus right motor | Should feel roughly similar in strength unless intentionally designed differently |
| Low frequency versus high frequency | Should feel clearly different in character, not just strength |
| First test versus repeated tests | Should feel consistent each time, not weaker on later attempts |
If one specific motor consistently feels weaker than the other across multiple repeated tests, that points toward an actual hardware issue with that specific motor rather than a fluke or a temporary connection glitch.
Common Causes of Weak or Failing Vibration
Once you have confirmed a real problem through testing, understanding what usually causes it helps you decide on the right fix.
| Cause | How It Happens |
|---|---|
| Loose internal connector | The small wire connecting the motor to the main board becomes disconnected slightly |
| Worn motor bearing | The spinning mechanism inside wears down after extended heavy use |
| Dust or debris inside the motor housing | Particles interfere with the free spinning motion |
| Software or firmware setting | Some games or system settings can lower or disable vibration intentionally |
| Battery related power issue | Low battery can sometimes reduce vibration strength on wireless controllers |
A technician who repairs a high volume of controllers mentioned that loose internal connectors, rather than fully dead motors, actually account for a good portion of “vibration stopped working” repair requests, since the fix in those cases is often as simple as reseating a small connector rather than replacing the motor itself.
Checking Software Settings Before Assuming Hardware Failure
Before opening anything or assuming a motor has failed, always rule out simple settings first, since this step is free and takes only a minute.
Steps to Check on Console
- Go to Settings, then Devices and Connections or Accessories depending on your console.
- Look for a vibration or rumble intensity setting.
- Confirm it is not set to off or to a very low level accidentally.
Steps to Check on PC
- Open the game’s specific settings menu and look for vibration or controller feedback options.
- Check any companion app for your controller brand, like Xbox Accessories app or similar tools, for a master vibration setting.
- Confirm Windows itself has not disabled the feature through any accessibility or power saving setting.
| Setting Location | What to Look For |
|---|---|
| Console system settings | Master vibration intensity slider |
| Individual game settings | Game specific vibration toggle |
| Companion app on PC | Overall controller feedback settings |
| Windows accessibility settings | Rare but possible vibration related toggle |
This step alone resolves more cases than people expect, especially after downloading a new game that quietly ships with vibration turned off by default in its own settings menu.
Nintendo players can also check the official Controller Vibration setting under Controllers and Sensors.
When Cleaning Might Help
If dust or debris is suspected as the cause of weak or inconsistent vibration, a careful cleaning approach similar to fixing stick drift can sometimes help, though this applies less often to vibration motors specifically since they are usually more enclosed than sticks or triggers.
General Approach If You Choose to Try This
- Power off the controller completely.
- Open the shell carefully following the correct method for your specific controller model.
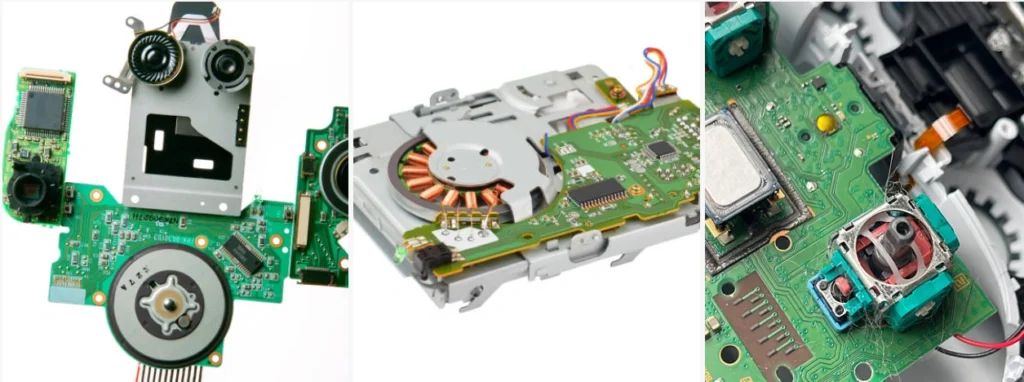
- Locate the vibration motors, which are usually small cylindrical or flat units connected by thin wires.
- Check the connector where the motor wire meets the main circuit board, gently reseating it if it looks loose.
- Use compressed air very lightly around the motor housing if visible dust is present, being careful not to spray directly into the motor’s internal spinning mechanism.
This is a more delicate repair than typical stick or trigger cleaning, since the motors themselves are small and somewhat fragile. If you are not confident opening the shell, this step is one where professional repair may be the safer choice.
Comparing Testing Methods for Vibration
| Method | Difficulty | Cost | What It Reveals |
|---|---|---|---|
| Browser based gamepad tester | Very easy | Free | Basic to detailed motor function, depending on the tool |
| In-game vibration test menu | Very easy | Free | Confirms vibration works within that specific game’s settings |
| Console system test screen | Very easy | Free | Basic overall vibration confirmation |
| Physical inspection after opening shell | Medium | Free | Reveals loose connectors or visible debris |
For most people, starting with a browser based tester gives the clearest and fastest read on whether a real problem exists, before deciding whether any deeper physical inspection is worth attempting.
Common Mistakes People Make While Testing Vibration
A few small errors lead people to misjudge whether their controller actually has a problem.
- Judging vibration only during a game, where settings and game design can mask a genuinely weak motor
- Testing only once and assuming the result represents consistent performance
- Forgetting to check basic settings before assuming a hardware fault
- Not testing both motors individually when a combined test is available, missing early signs that only one side is weakening
- Assuming a rattling sound is unrelated to vibration quality, when it often signals developing mechanical wear
- Testing with a low battery on a wireless controller and blaming the motor instead of the power level
A Simple Table to Interpret Your Results
| What You Experienced During Testing | Suggested Next Step |
|---|---|
| Both motors feel strong and consistent | No action needed, controller is healthy |
| One motor feels noticeably weaker | Check settings first, then consider opening the shell to check the connector |
| No vibration at all from either motor | Check settings and battery level first, then consider deeper inspection |
| Grinding or rattling sound during vibration | Motor likely has mechanical wear, consider replacement |
| Vibration works in tester but not in a specific game | Check that specific game’s own vibration settings |
| Vibration feels delayed compared to when the test starts | Possible loose connector or early motor wear |
Frequently Asked Questions
Can a Firmware Update Fix Weak Vibration?
In some cases yes, particularly if the issue is related to how the controller reports or handles vibration signals rather than a physical motor problem, so checking for updates is always worth trying first.
Does Vibration Testing Drain the Battery Faster Than Normal Gameplay?
Testing briefly does not use meaningfully more power than regular gameplay vibration, so there is no real downside to testing thoroughly.
Why Does My Controller Vibrate Differently on PC Compared to Console?
Different platforms sometimes handle vibration intensity and timing slightly differently through their own software layers, even though the same physical motors are being used underneath.
Is It Normal for One Motor to Feel Stronger Than the Other Even When Both Are Healthy?
Yes, to some extent, since low frequency and high frequency motors are intentionally designed to feel different, so a difference in character does not necessarily mean something is wrong.
Can I Replace a Vibration Motor Myself If Testing Confirms It Has Failed?
Yes, in many controllers this is possible with basic soldering skills or, in some models, simple connector based replacement, though difficulty varies depending on the specific controller design.
Does Using a Controller for Many Hours Daily Wear Out Vibration Motors Faster?
Yes, like most mechanical parts, heavier and more frequent use does contribute to faster wear over time, particularly for the spinning mechanism inside each motor.
Will a Browser Based Tester Work the Same Way for Every Controller Brand?
Most modern controllers that use the standard Gamepad API work consistently across tester tools, though some very advanced haptic features on newer controllers may not be fully represented by basic vibration testing tools designed for general compatibility.