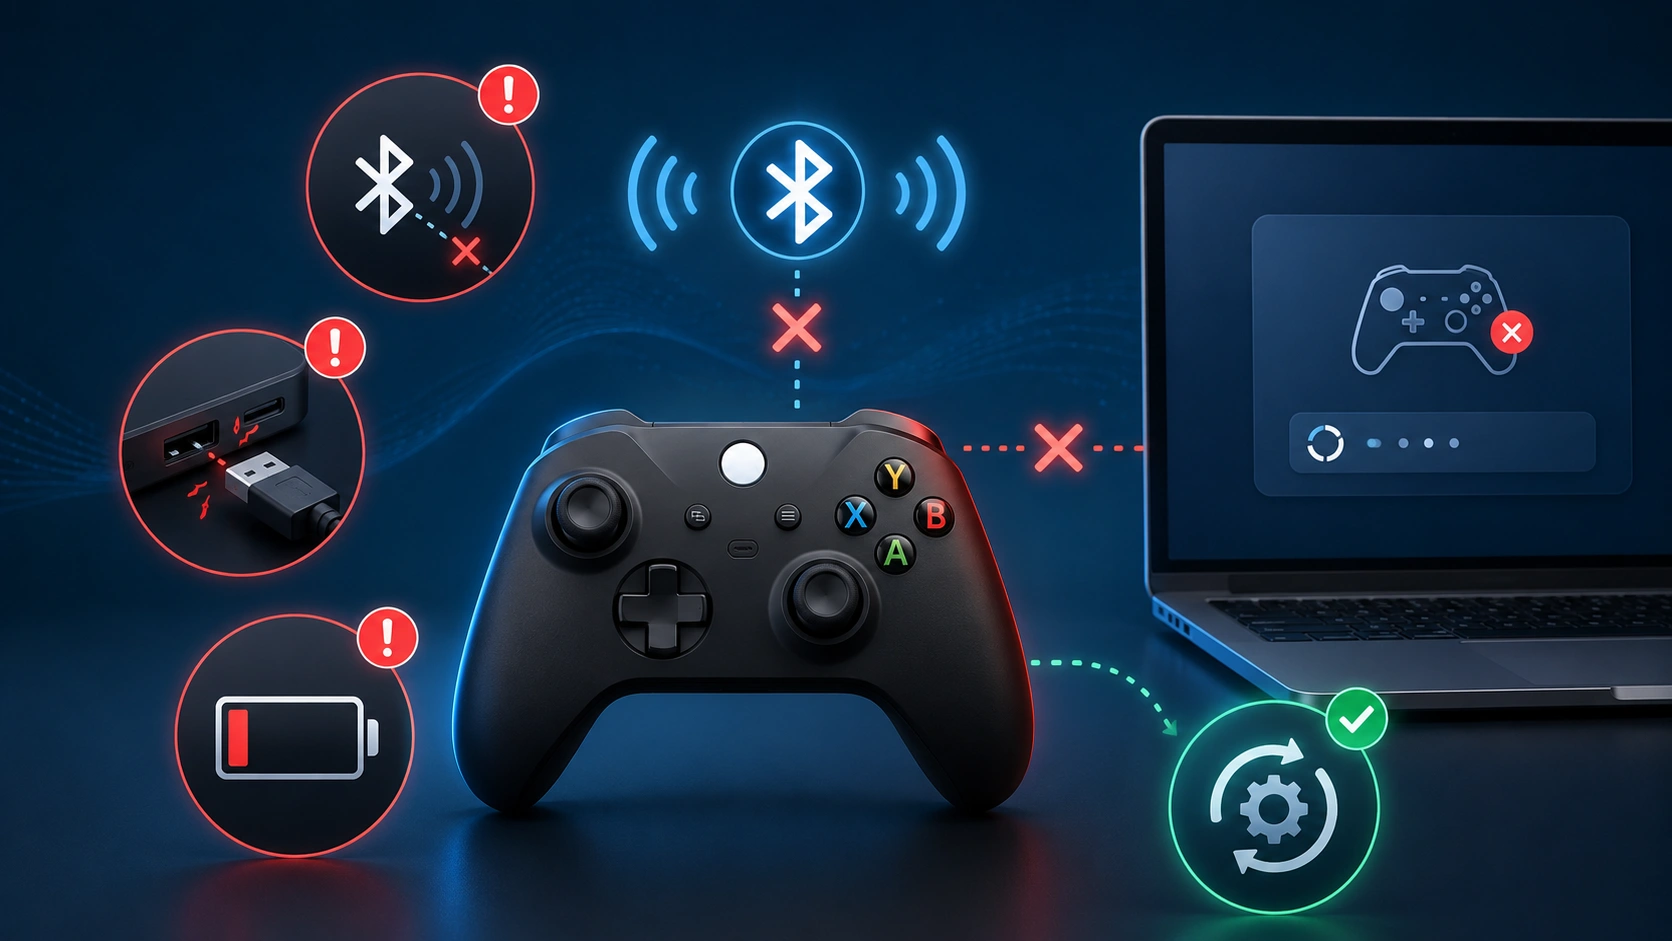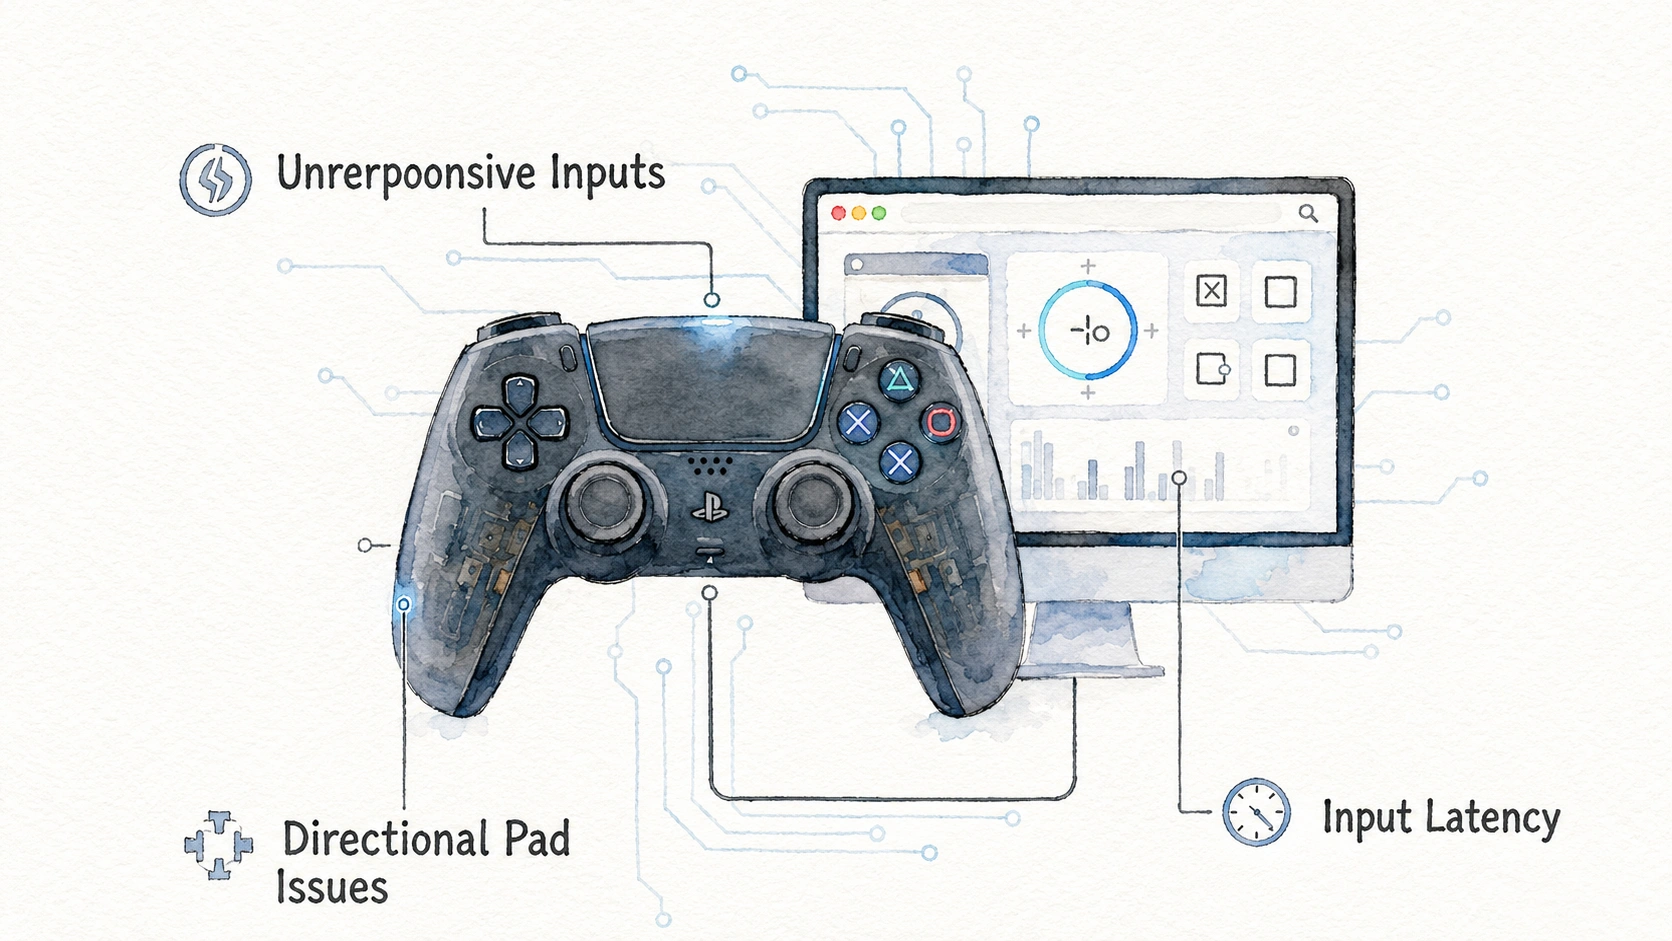
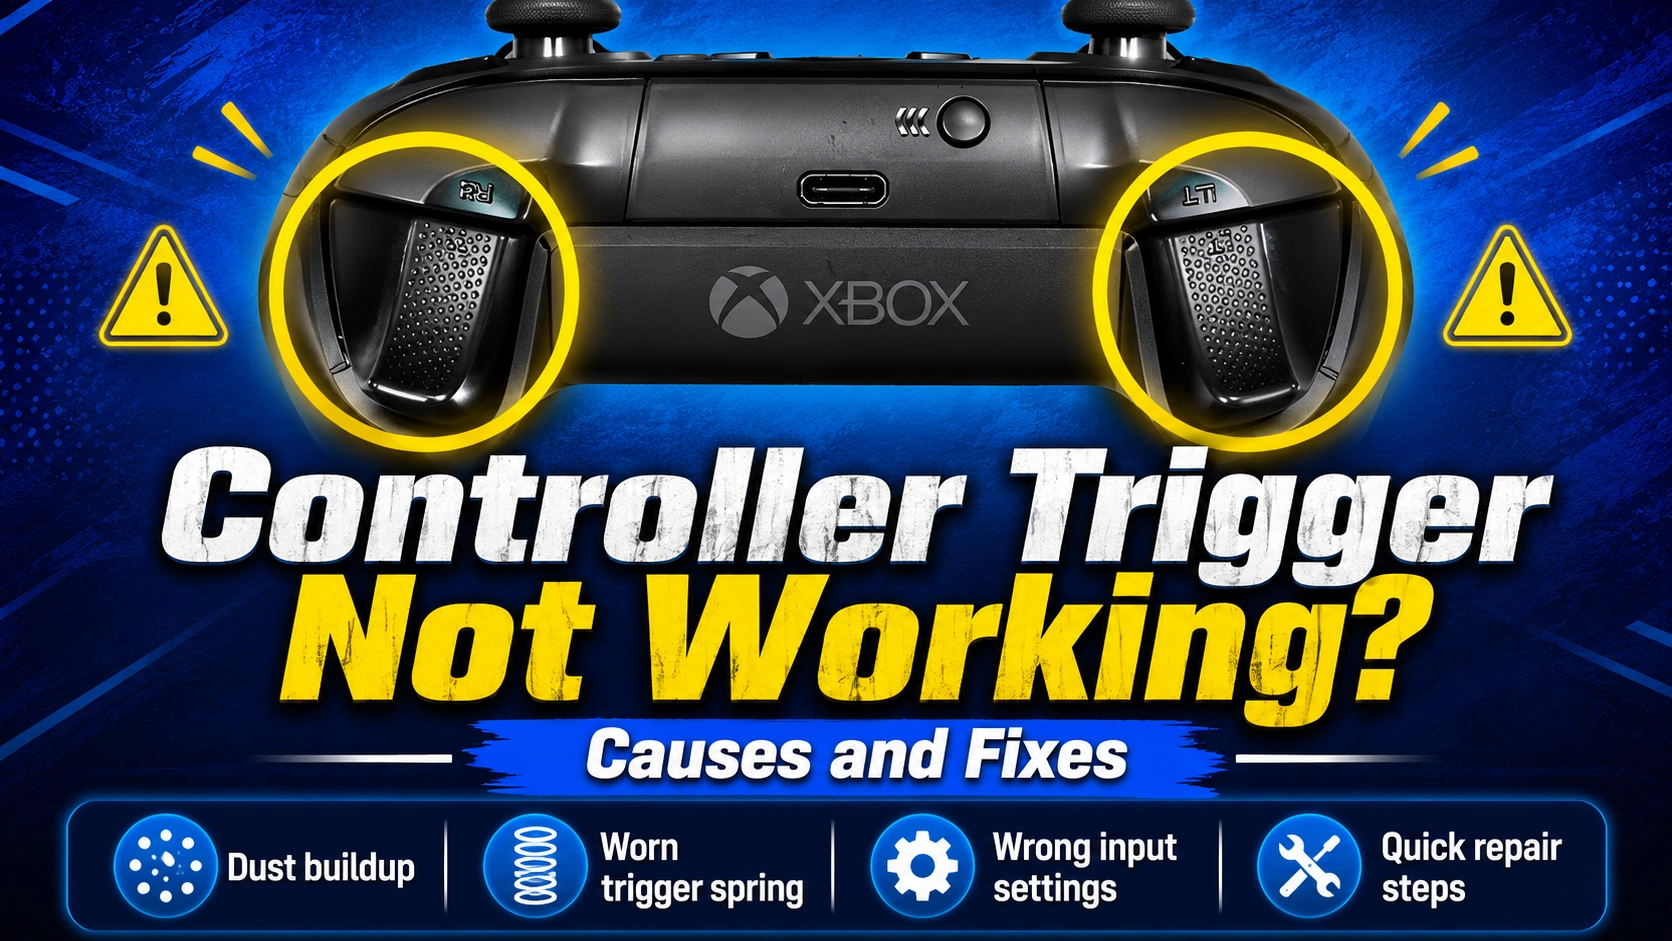
Your controller trigger not working feels stuck, or maybe it does nothing at all when you pull it during a race or a shootout. This is one of those problems that ruins a game at the worst possible moment, whether that means missing a shot or failing to accelerate at the start of a race. The good news is that trigger problems usually come from a small list of common causes, and most of them are fixable at home without buying a new controller.
This guide walks through every common cause of trigger problems and the exact fixes that work, based on real repair experience across Xbox, PlayStation, and PC controllers.
How Triggers Actually Work Inside a Controller
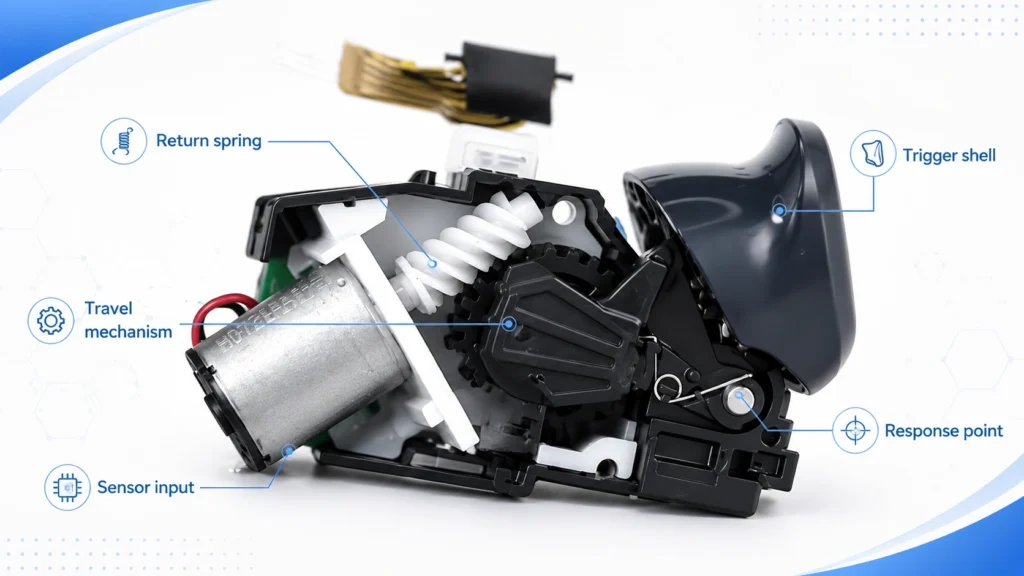
Modern controller triggers are analog, meaning they read how far you pull them, not just whether they are pressed or not. This is different from a simple on-off button.
Most triggers use one of two internal designs:
| Design Type | How It Works |
|---|---|
| Potentiometer trigger | A small arm slides along a resistive strip as you pull, similar to analog sticks |
| Hall effect trigger | A magnet and sensor detect position without any physical contact |
Both designs send a range of values, not just zero or one, so the game can tell the difference between a light tap and a full pull. This is exactly why a racing game can tell how gently you are pressing the gas trigger.
Because there are moving parts involved, whether contact based or magnetic, several things can go wrong over time or through damage.
Symptom: Trigger Does Not Respond At All
This is the most obvious and often the most alarming symptom, since it looks like a complete failure.
Steps to Check First
- Test the trigger using a browser based gamepad tester to confirm whether the PC or console detects any signal at all.
- Check if the trigger physically moves when pressed, since a jammed trigger that cannot move at all points to a mechanical blockage rather than an electronic fault.
- Try the same trigger in a different game to rule out a game specific setting issue.
| What You Observe | Likely Cause |
|---|---|
| Trigger does not move physically | Something jammed inside, often debris |
| Trigger moves but shows zero signal in tester | Internal contact or sensor failure |
| Trigger works in tester but not in game | Game specific button mapping issue |
| Trigger works sometimes, not always | Loose internal connection |
If the tester shows genuinely no signal at all even with the trigger moving freely, this usually points to worn internal contacts or a damaged sensor, which means opening the controller is likely necessary.
Browser-based controller testing tools read buttons and analog axes through the Gamepad API.
Symptom: Trigger Feels Stuck or Does Not Return
Sometimes the trigger gets pulled in and simply does not spring back out on its own, which is different from a lack of signal entirely.
Common Causes
- A small return spring inside has become dislodged or broken
- Dust or debris has built up around the trigger’s pivot point, physically blocking smooth movement
- Liquid spill residue has created a sticky film around the moving parts
Steps to Check and Fix
- Power off the controller completely before attempting any physical check.
- Gently wiggle the trigger side to side while it is stuck, sometimes this alone dislodges small trapped debris.
- Use compressed air around the trigger’s pivot point, spraying in short bursts while moving the trigger back and forth.
- If it remains stuck, opening the shell to check the return spring directly may be necessary.
A repair technician mentioned that trigger sticking problems are often blamed on “software glitches” by frustrated players, when in reality the vast majority trace back to something as simple as trapped dust or a small food crumb near the pivot.
Symptom: Trigger Registers Inconsistent Pressure
This symptom is sneaky because the trigger clearly works, but the values it sends do not match how hard you are actually pulling it.
Signs of This Specific Problem
- Light presses sometimes register as full pulls
- The trigger jumps straight from zero to maximum with no smooth range in between
- Racing games feel jumpy, going from no acceleration to full speed with no in-between control
Steps to Diagnose
- Use a gamepad tester that shows a moving bar or percentage value for trigger pressure, not just an on-off indicator.
- Pull the trigger very slowly from fully released to fully pressed while watching the displayed value.
- Note if the value increases smoothly or jumps in sudden chunks.
| Test Result | What It Means |
|---|---|
| Smooth gradual increase from zero to full | Trigger sensor working correctly |
| Sudden jump partway through the pull | Worn or dirty contact area on that section |
| Value jumps around randomly at a fixed position | Localized dirt or wear at that specific point |
| Value never reaches true maximum | Reduced range, often early wear |
This exact symptom pattern closely resembles stick drift in cause, since it often comes from worn contact material on a potentiometer style trigger. The same cleaning approach used for drifting analog sticks frequently solves trigger pressure problems too.
Method One: Clean Around the Trigger With Compressed Air
This is the easiest first step and solves a large share of trigger problems related to dust and light debris.
What You Need
| Item | Purpose |
|---|---|
| Compressed air can | Blows dust and small particles out from around the trigger mechanism |
| Thin straw nozzle | Directs air precisely into narrow gaps |
| Soft cloth | Wiping down the outer shell afterward |
Steps
- Hold the controller with the trigger facing you and fully visible.
- Insert the thin nozzle at the edges where the trigger meets the shell.
- Spray in short bursts while pulling the trigger slowly back and forth to help dislodge trapped particles.
- Repeat from a few different angles around the trigger’s pivot point.
- Wipe down the outside with a soft cloth once finished.
Common mistake here is only spraying from directly in front of the trigger. Debris often gets trapped at the sides near the pivot hinge, so angling the nozzle from multiple directions gets much better results.
Method Two: Clean the Internal Contacts With Alcohol
If compressed air alone does not fully solve inconsistent pressure readings or dead spots, cleaning the actual contact area inside usually finishes the job.
Tools Needed
| Item | Purpose |
|---|---|
| Isopropyl alcohol, 90 percent or higher | Removes oxidation and built up grime without leaving residue |
| Cotton swabs | Precise, controlled application |
| Small screwdriver matching your controller model | Opening the shell |
| Plastic prying tool | Separating the shell safely |
Steps
- Power off the controller and remove the battery if applicable.
- Remove the back panel screws and gently separate the shell.
- Locate the trigger’s internal mechanism, which usually sits directly behind the visible trigger lever.
- Dip a cotton swab lightly in alcohol, squeezing out excess so it is barely damp.
- Gently rub around the visible contact area and the pivot point of the trigger mechanism.
- Let everything dry fully for ten to fifteen minutes before reassembling.
A common mistake is using too much alcohol, which can drip further into the controller and affect nearby components. Light and controlled application works best.
Method Three: Check for Physical Damage or Blockage
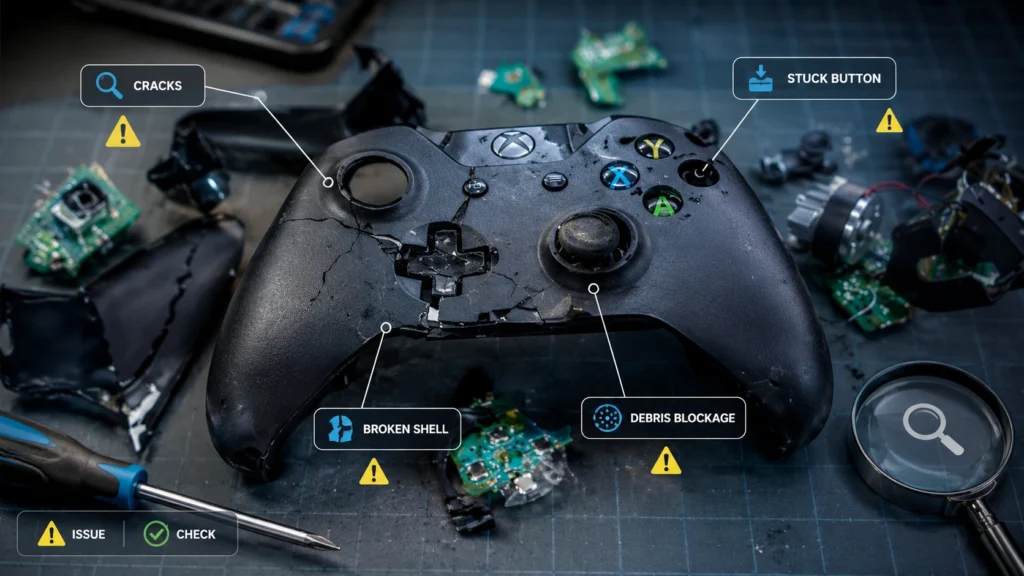
Sometimes the problem is not electrical at all, but a simple physical obstruction or a cracked part.
Things to Look For
- Small crumbs or debris visibly stuck in the gap around the trigger
- A cracked or bent plastic trigger lever, which can prevent full range of motion
- A broken internal return spring, sometimes you can hear a rattling sound when shaking the controller gently
- Sticky residue from a spilled drink, which often has a slightly tacky feel around the trigger area
| Physical Issue | How to Confirm | Fix |
|---|---|---|
| Visible debris | Look closely with a flashlight | Compressed air or careful removal with a toothpick |
| Cracked lever | Visual inspection, uneven movement | Replacement part usually needed |
| Broken spring | Rattling sound, trigger stays down | Open shell and replace spring |
| Sticky residue | Slightly tacky feel when touched | Alcohol cleaning as described above |
A rattling sound when gently shaking a controller is actually a useful diagnostic clue many players overlook completely, since it often points directly to a loose or broken internal spring.
Method Four: Update Firmware and Drivers
Before assuming a hardware problem, always rule out software causes first, since this step is free and takes only a couple of minutes.
Steps for Xbox Controllers
- Open the Xbox Accessories app or check through console Settings, then Devices and Connections, then Accessories.
- Look for a firmware update option and install if available.
Steps for PlayStation Controllers
- Connect to the console and check Settings, then Accessories, then Controllers for update options.
- On PC, Steam often handles DualSense and DualShock firmware checks automatically when connected.
PlayStation owners can also use the official PlayStation controller support section to check controller updates and troubleshooting options.
Steps for PC in General
- Open Device Manager and check for any driver warning icons next to your controller entry.
- Right click and choose Update Driver if an issue is flagged.
Software related trigger problems are less common than physical ones, but they do happen occasionally, especially after a recent system update that changed default input handling.
Method Five: Adjust In-Game Trigger Sensitivity Settings
This does not fix a physically worn trigger, but it can make a slightly inconsistent trigger feel much more usable while you plan a proper repair.
Steps to Check
- Open the game’s control settings menu.
- Look for trigger sensitivity, trigger dead zone, or trigger threshold sliders.
- Adjust slightly to compensate for where your specific trigger feels inconsistent.
- Test immediately in game after each small adjustment.
| Setting Adjustment | Effect |
|---|---|
| Increase dead zone slightly | Ignores small unwanted signal near the resting position |
| Adjust sensitivity curve | Changes how pressure translates into in-game action |
| Lower overall sensitivity | Reduces jumpy or sudden full-range triggering |
Think of this as a temporary patch rather than a real fix, similar to deadzone adjustments used for drifting analog sticks. It helps you keep playing while addressing the root cause separately.
Method Six: Replace the Trigger Module
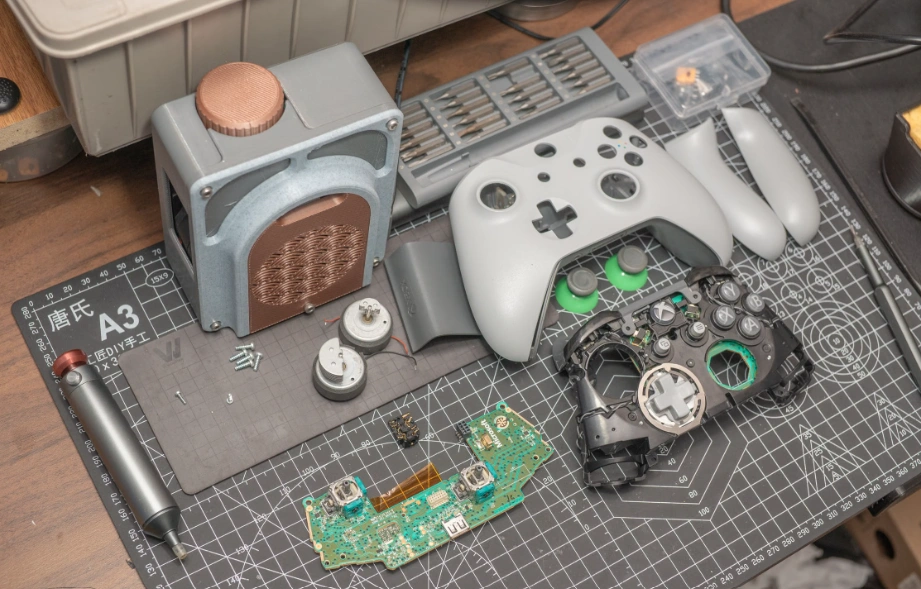
When cleaning and adjustments do not solve the problem, the internal trigger mechanism itself has likely worn out and needs replacing. This is a bigger job but genuinely the most reliable long term fix.
A model-specific trigger replacement guide can help you understand how the controller shell, spring and trigger mechanism fit together before opening anything.
Tools Needed
| Tool | Purpose |
|---|---|
| Screwdriver matching your controller model | Opening the shell |
| Replacement trigger module | The actual new part |
| Soldering iron, only if your controller requires it | Some designs need this, others use ribbon connectors instead |
| Tweezers | Handling small components and connectors |
General Steps
- Open the controller shell fully.
- Take photos of ribbon cable positions before disconnecting anything.
- Locate the trigger module and note how it connects, either through solder points or a ribbon cable connector.
- Remove the old module carefully.
- Install the new module in the exact same position and reconnect it the same way.
- Reassemble in reverse order.
Difficulty here depends heavily on your specific controller model, since some use simple plug in connectors while others require actual soldering. If your controller needs soldering and you have never done it before, practicing on old electronics first is a smart move before touching your actual controller.
Comparing All Six Methods
| Method | Difficulty | Cost | How Reliable |
|---|---|---|---|
| Compressed air cleaning | Very easy | Low | Medium to high for debris related issues |
| Alcohol contact cleaning | Medium | Low | High for contact wear issues |
| Checking for physical damage | Easy | Free to low | Depends entirely on what is found |
| Firmware and driver updates | Very easy | Free | Low, only fixes rare software cases |
| In-game sensitivity adjustment | Very easy | Free | Temporary workaround only |
| Trigger module replacement | Medium to hard | Low to medium | Very high |
Common Mistakes People Make Fixing Trigger Problems
A number of small errors turn simple fixes into bigger frustrations.
- Assuming a stuck trigger is always a broken spring, when debris is actually the more common cause
- Using way too much alcohol during cleaning, which drips further into the controller
- Skipping the tester step entirely and just guessing based on how the trigger feels during a game
- Forgetting to test both triggers, even when only one seems affected, since early wear on the second one is easy to miss
- Ignoring firmware updates because they seem unlikely to matter, when they occasionally do fix real issues
- Opening the controller shell too aggressively and cracking small plastic clips that were never actually the problem
Preventing Trigger Problems From Coming Back
A few habits genuinely help delay trigger issues from returning after a fix.
- Clean around the trigger area with compressed air every couple of months as routine maintenance
- Avoid eating directly over your controller, since crumbs are one of the most common causes of both stuck and inconsistent triggers
- Keep drinks well away from your gaming setup entirely
- Store the controller in a dry area, since humidity contributes to internal corrosion over time
- Avoid slamming triggers to full pull repeatedly in fast paced games when a firm but controlled pull works just as well
Testing Your Fix Properly
After trying any method above, always retest with a proper tool rather than judging purely by feel during a game session.
- Use a gamepad tester that shows a visual pressure bar or percentage for trigger input.
- Pull the trigger slowly from fully released to fully pressed, checking for a smooth gradual increase.
- Release slowly and confirm the value decreases just as smoothly back to zero.
- Repeat multiple times across a few hours, since some issues only reappear once the controller warms up from use.
- Compare both triggers side by side if only one was originally affected, to make sure the fix did not miss an early issue on the other side.
If the trigger shows smooth, consistent readings across several tests, your fix worked. If jumps or dead spots remain, go back one method and try the next step up the list.
Frequently Asked Questions
Why Does My Trigger Work Fine in One Game but Not Another?
Ans: This usually points to a game specific setting rather than a hardware problem, particularly dead zone or sensitivity settings that differ between games even on the exact same controller.
Can a Trigger Issue Be Caused by the Same Thing as Stick Drift?
Ans: Yes, in many cases the underlying cause is nearly identical, since both often use similar contact based mechanisms that wear down or collect dust in the same way.
Is It Normal for Triggers to Feel Different Between a Wired and Wireless Connection?
Ans: The physical trigger mechanism works identically regardless of connection type, so any noticeable difference usually points to a battery or signal issue rather than the trigger itself.
Do Trigger Problems Get Worse Over Time If Ignored?
Ans: Generally yes, especially wear related issues, since the same contact material continues degrading the more the trigger gets used without any cleaning or repair.
Can I Use a Trigger Lock or Stop Accessory to Prevent Future Problems?
Ans: Some players use aftermarket trigger stops to reduce full range pulls in fast paced shooters, which can slightly reduce wear over time, though it does not eliminate the underlying wear process entirely.
Should I Try Fixing a Stuck Trigger Myself or Send It for Repair Right Away?
Ans: Trying compressed air first is safe and reversible for almost everyone, so it is worth attempting before deciding whether professional repair is necessary for a deeper issue.
Does a Broken Trigger Always Mean I Need a Whole New Controller?
Ans: No, in the vast majority of cases only the specific trigger module or spring needs replacing, which costs much less than buying an entirely new controller.