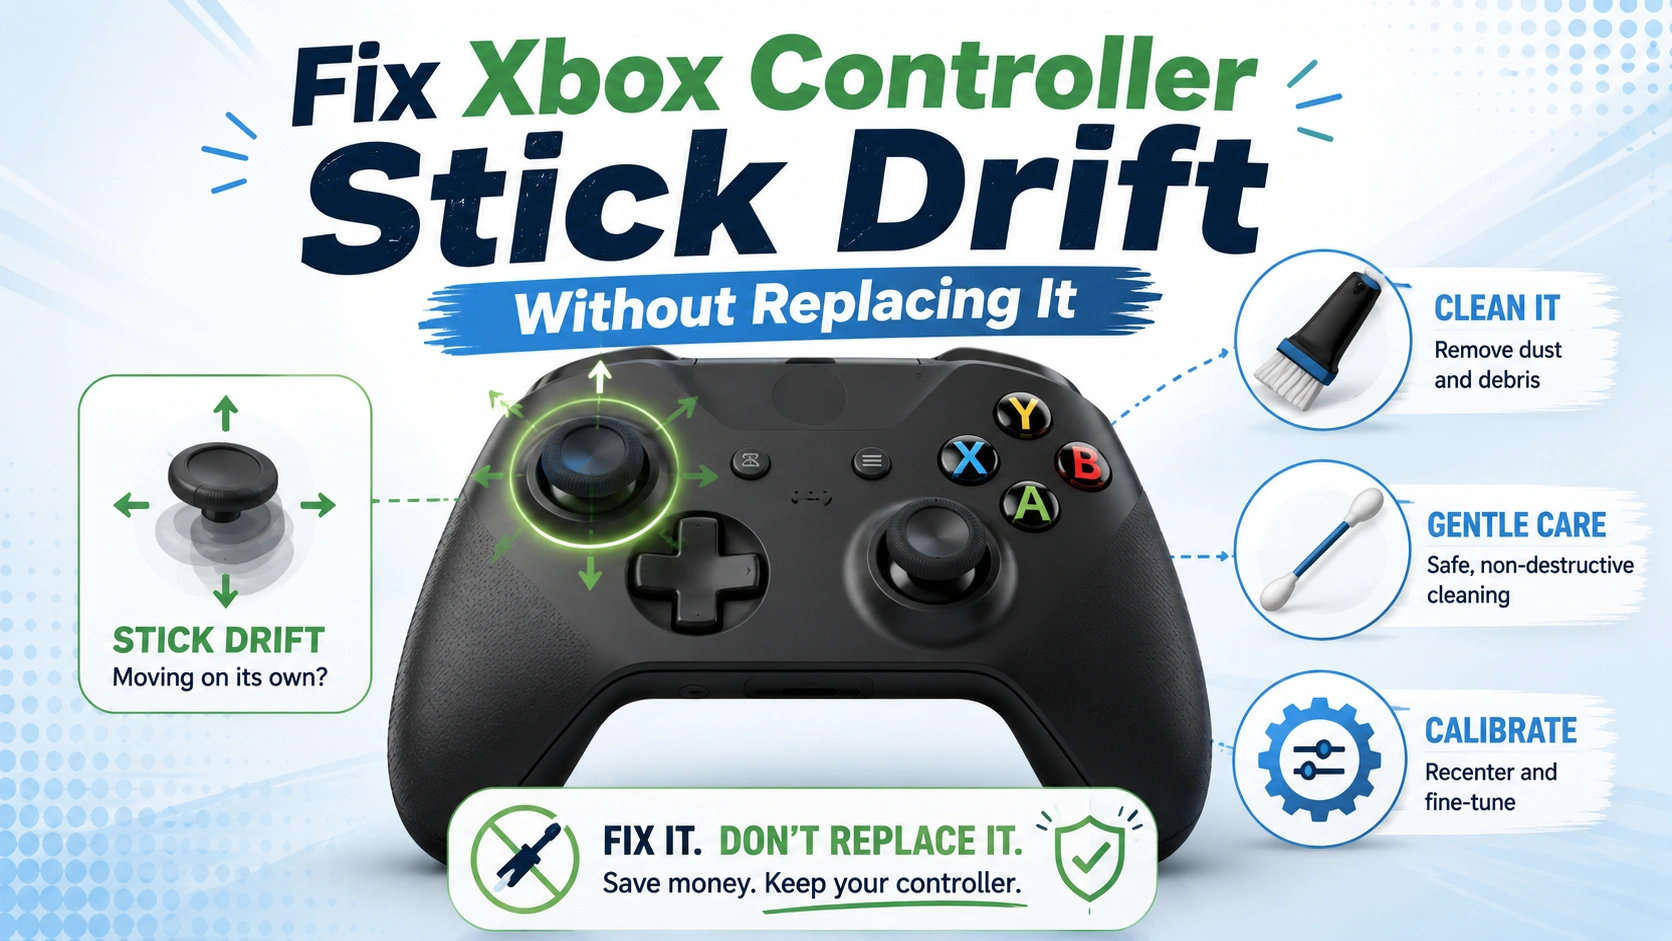
Your fix Xbox controller stick drift starts moving on its own. You put it down, but your character continues walking or the camera slowly turns to one side. This problem is commonly known as stick drift.
Stick drift does not always mean that you need a new controller. The cause could be an incorrect game setting, outdated controller firmware, dirt around the thumbstick or a calibration problem. Physical wear inside the joystick module can also cause drift, especially after long-term use.
This guide explains how to identify the cause, try safe fixes and decide when professional repair is the better option.
Why Xbox Controllers Develop Stick Drift
An Xbox controller uses small electronic components to measure the position of each thumbstick. Inside the joystick module, potentiometers track horizontal and vertical movement.
Repeated use can gradually wear these internal parts. Dust, dirt or physical damage may also affect how accurately the stick returns to its centre position.
Common causes include:
| Cause | What Happens |
|---|---|
| Internal component wear | The joystick no longer reports its centre position accurately |
| Dirt around the thumbstick | Debris limits smooth movement or prevents proper centring |
| Outdated firmware | Controller behaviour may become inconsistent |
| Incorrect deadzone settings | Small movements are detected too easily |
| Physical damage | A drop or impact can affect the stick mechanism |
| Manufacturing fault | A new controller may arrive with an inaccurate joystick |
Firmware and calibration fixes may help with software-related problems. They will not restore an internal component that has physically worn out.
How to Confirm It Is Really Stick Drift
Before opening settings or cleaning the controller, confirm that the problem is actually stick drift.
Connect the controller to a PC or compatible device and open a browser-based gamepad tester. Do not touch either thumbstick while watching the live input display.
Check for the following signs:
- The stick indicator moves while the controller is resting
- The indicator does not remain close to the centre
- The movement repeatedly pulls in the same direction
- One stick returns to the centre more slowly than the other
- The problem appears across several games
Test both thumbsticks, even when only one appears to be affected.
You should also try another game. Drift that happens in only one title may be caused by that game’s controller settings rather than a hardware fault.
Method One: Update the Controller Firmware
Start with the easiest software fix. Controller firmware updates can correct compatibility problems, connection faults and inconsistent input behaviour.
Microsoft provides an official Xbox controller firmware troubleshooting page with current update and recovery information.
To check for an update on an Xbox console:
- Connect the controller to the console.
- Open Settings.
- Select Devices and connections.
- Open Accessories.
- Select the controller.
- Check whether a firmware update is available.
On a Windows PC, connect the controller and open the Xbox Accessories app.
Keep the controller connected until the update finishes. Do not unplug it or remove its batteries during the process.
After updating, restart the controller and test it again. An update may correct drift-like behaviour caused by software, but it will not repair worn joystick hardware.
Method Two: Use the Official Thumbstick Recalibration Tool
Some Xbox Wireless Controllers support thumbstick recalibration through the Xbox Accessories app.
Microsoft introduced the Xbox thumbstick recalibration tool to address minor problems such as inconsistent stick responses. Microsoft also explains that the tool cannot repair every case of drift, particularly drift caused by normal wear.
To check for recalibration:
- Connect the controller to your Xbox or PC.
- Open the Xbox Accessories app.
- Select the connected controller.
- Look for the thumbstick recalibration option.
- Follow the on-screen movements carefully.
- Test the controller again after calibration.
Move the stick slowly and allow it to return naturally to the centre. Do not force it against the outer edge.
The availability of this feature may depend on the controller model and current app version.
Method Three: Clean Around the Thumbstick
Dust and small particles can collect around the base of a thumbstick. Cleaning the outside of the controller may help when debris is preventing smooth movement.
First, turn off the controller and remove any removable batteries. Disconnect all cables.
Use a clean, dry microfiber cloth to wipe the controller. Move the affected stick gently in a full circle while cleaning around its base with a soft brush or electronics-safe air blower.
Avoid using:
- Water
- Household cleaning sprays
- WD-40
- Oil-based products
- Wet cloths
- Sharp metal objects
Do not pour liquid into the controller. Liquid can travel beneath the shell and damage the circuit board.
After cleaning, move the stick several times in every direction. Reconnect the controller and test it.
Method Four: Check The Game’s Deadzone Setting
A deadzone is the small area around the centre of a thumbstick that a game ignores. If the deadzone is too low, tiny movements may appear as drift.
Open the controller settings inside the affected game and look for options such as:
- Left stick deadzone
- Right stick deadzone
- Inner deadzone
- Minimum input threshold
- Controller sensitivity
Increase the inner deadzone by a small amount. Test the controller after each change.
| Setting | Likely Result |
| Too low | Small unwanted movements remain visible |
| Balanced | Minor movement is ignored without affecting normal control |
| Too high | Precise aiming and slow movement become difficult |
A deadzone adjustment is a workaround rather than a hardware repair. It can make a controller usable when the drift is minor, but the underlying wear may continue.
Method Five: Remove Thumbstick Accessories
Third-party thumbstick covers and control rings can sometimes prevent a stick from returning fully to the centre.
Remove any accessories attached to the affected stick, including:
- Rubber grip covers
- Raised thumbstick extensions
- Aim-assist rings
- Decorative stick caps
Test the controller without them.
Also inspect the original thumbstick cap. A worn cap normally affects grip rather than electronic input, but a loose, cracked or badly fitted cap may interfere with movement.
Do not pull the original thumbstick off while the controller is assembled. Internal parts can be damaged if excessive force is used.
Method Six: Reset Game And Controller Profiles
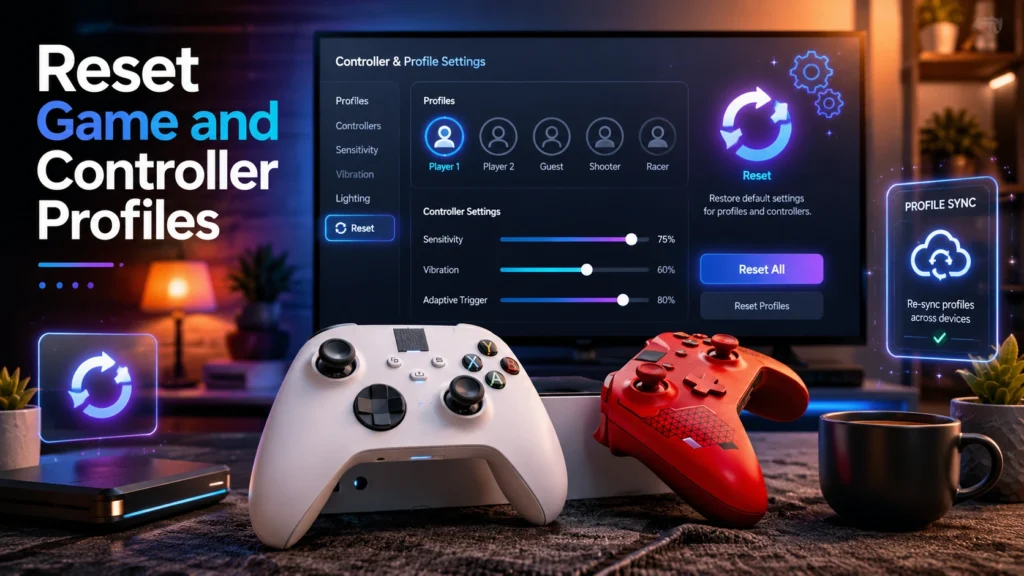
Custom controller profiles can create confusing input behaviour, especially when sensitivity settings, button mappings or response curves have been changed.
Open the Xbox Accessories app and check whether a custom profile is active. Return the profile to its default settings and test the controller again.
Inside the game, restore controller settings to default. Then adjust only the deadzone if necessary.
This step is especially useful when:
- Drift started after changing controller settings
- The problem appears in only one game
- Another profile works correctly
- The controller behaves normally on a different device
Testing with default settings helps separate a configuration problem from physical joystick wear.
Method Seven: Consider Professional Joystick Repair
When firmware, recalibration, cleaning and deadzone adjustments do not help, the internal joystick module may be worn or damaged.
Replacing this module is different from replacing the whole controller. However, it normally requires opening the controller, removing soldered parts and installing a compatible replacement.
The detailed Xbox Series X and S controller joystick replacement guide from iFixit shows the complexity of the repair and classifies it as a difficult procedure.
Because the circuit board can be damaged by excessive heat or incorrect soldering, inexperienced users should use a qualified electronics repair technician.
Before paying for repair, check the controller’s purchase date and the official Xbox controller warranty information. Opening the controller yourself may affect available warranty or service options.
Comparing The Main Fixes
| Method | Difficulty | Cost | Best For |
| Firmware update | Easy | Free | Software and compatibility problems |
| Official recalibration | Easy | Free | Minor response or centring problems |
| External cleaning | Easy | Low | Dust around the thumbstick |
| Deadzone adjustment | Easy | Free | Minor drift inside a particular game |
| Removing accessories | Easy | Free | Obstructed thumbstick movement |
| Resetting profiles | Easy | Free | Incorrect sensitivity or response settings |
| Professional module repair | Advanced | Varies | Physical joystick wear |
Start with free software checks. Move to professional repair only when testing confirms that the problem is hardware-related.
Common Mistakes To Avoid
Several common actions can make controller problems worse:
- Pouring cleaning liquid around the thumbstick
- Opening a controller that is still under warranty
- Forcing the shell apart
- Using sharp objects around the stick
- Changing several settings at once
- Setting the deadzone unnecessarily high
- Assuming every camera movement is caused by hardware drift
- Attempting circuit-board repair without suitable training
Make one change at a time and test after every step. This makes it easier to identify what actually solved the problem.
How To Test The Controller After A Fix
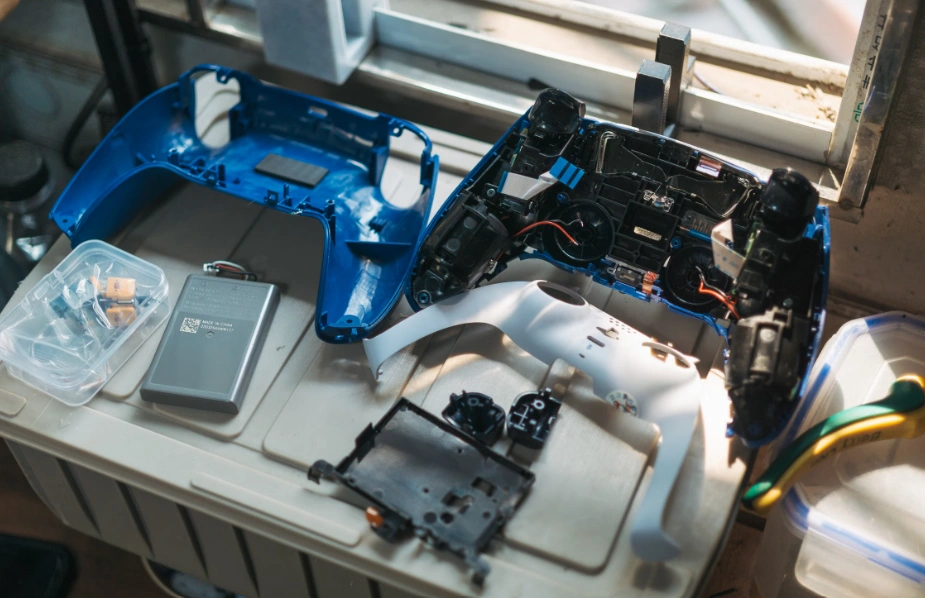
Use the same testing process after each method.
- Connect the controller to a browser-based gamepad tester.
- Leave both sticks untouched for at least 30 seconds.
- Watch whether the indicators remain near the centre.
- Move each stick slowly in a complete circle.
- Release the stick from several different directions.
- Check whether it returns to the same centre point.
- Test the controller in more than one game.
A small amount of movement may be handled by a reasonable deadzone. Large or repeated movement while the controller is untouched usually indicates a more serious problem.
Test the controller again after a normal gaming session. Some worn components behave differently after the controller has been used for a while.
How To Reduce Future Stick Problems
No controller lasts forever, but careful handling may reduce unnecessary wear.
- Keep the controller in a clean and dry place
- Avoid eating directly above it
- Clean around the thumbsticks regularly
- Do not press the sticks harder than needed
- Use a protective case when travelling
- Avoid dropping or throwing the controller
- Keep firmware updated
- Remove accessories that restrict stick movement
- Do not store heavy objects on top of the controller
Players who use a controller for many hours each day may also benefit from rotating between two controllers rather than placing all wear on one device.
When Replacing The Controller Makes More Sense
Professional repair may not always be economical. Replacement can make more sense when:
- Both joystick modules are badly worn
- Several buttons are also failing
- The circuit board has liquid damage
- The controller disconnects frequently
- Repair costs are close to the cost of a replacement
- Suitable parts are unavailable
- The controller has already been repaired several times
Do not place an unwanted controller in ordinary household waste. The US Environmental Protection Agency provides electronics donation and recycling guidance for finding safer disposal and recycling options.
Frequently Asked Questions
Can Firmware Really Fix Xbox Controller Drift?
Ans: Firmware may correct input problems that feel like drift. It cannot repair a physically worn joystick module.
Does Recalibration Permanently Fix Stick Drift?
Ans: It may fix minor centring or response problems. Drift caused by component wear usually requires hardware repair.
Can Cleaning Around The Stick Help?
Ans: Yes, when dust or debris is restricting movement. External cleaning will not restore a worn potentiometer inside the controller.
Should I Open My Xbox Controller?
Ans: Check the warranty first. Internal repair can damage the controller and may affect service eligibility. Professional repair is safer when soldering or circuit-board work is required.
Why Does Drift Appear In Only One Game?
Ans: That game may use a smaller deadzone or a different response curve. Reset its controller settings and compare the results with another game.
Is A Deadzone Adjustment A Real Repair?
Ans: No. It tells the game to ignore small movements. It can hide minor drift but does not repair the joystick hardware.
Can A New Controller Have Stick Drift?
Ans: A new controller should not show noticeable movement while untouched. Return or exchange it during the retailer’s return period rather than opening it.
Is It Cheaper To Repair Or Replace The Controller?
Ans: The answer depends on the controller model, local repair prices and the number of damaged parts. Ask for a repair estimate before buying parts or replacing the controller.